I still remember my best backcountry meal. It was 2017, I was camped out on a sliver of shoreline on a remote lake in Northern B.C. and I was cooking up brown trout in a cast iron pan. I remember this not only because the meal itself was so amazing but because of the revelation that came with it. This completely changed how I do backcountry grilling.
I started cooking in professional kitchens at the age of 15 and spent the next 20 years honing my craft in all sorts of restaurants, from pubs to high end fine dining. Working in these restaurants exposed me to some of the most cutting edge styles and techniques in the game. When I got into hunting 10 years ago I brought the same techniques I was using in professional kitchens to my backcountry grilling. I couldn’t cook a meal for two without using 6 pans or pots and making a special trip to pick up a “necessary” ingredient. No joke. Every ingredient was massaged or worked over to change it somehow. At the time I didn’t think anything of it, this was just how I cooked and the results were great.
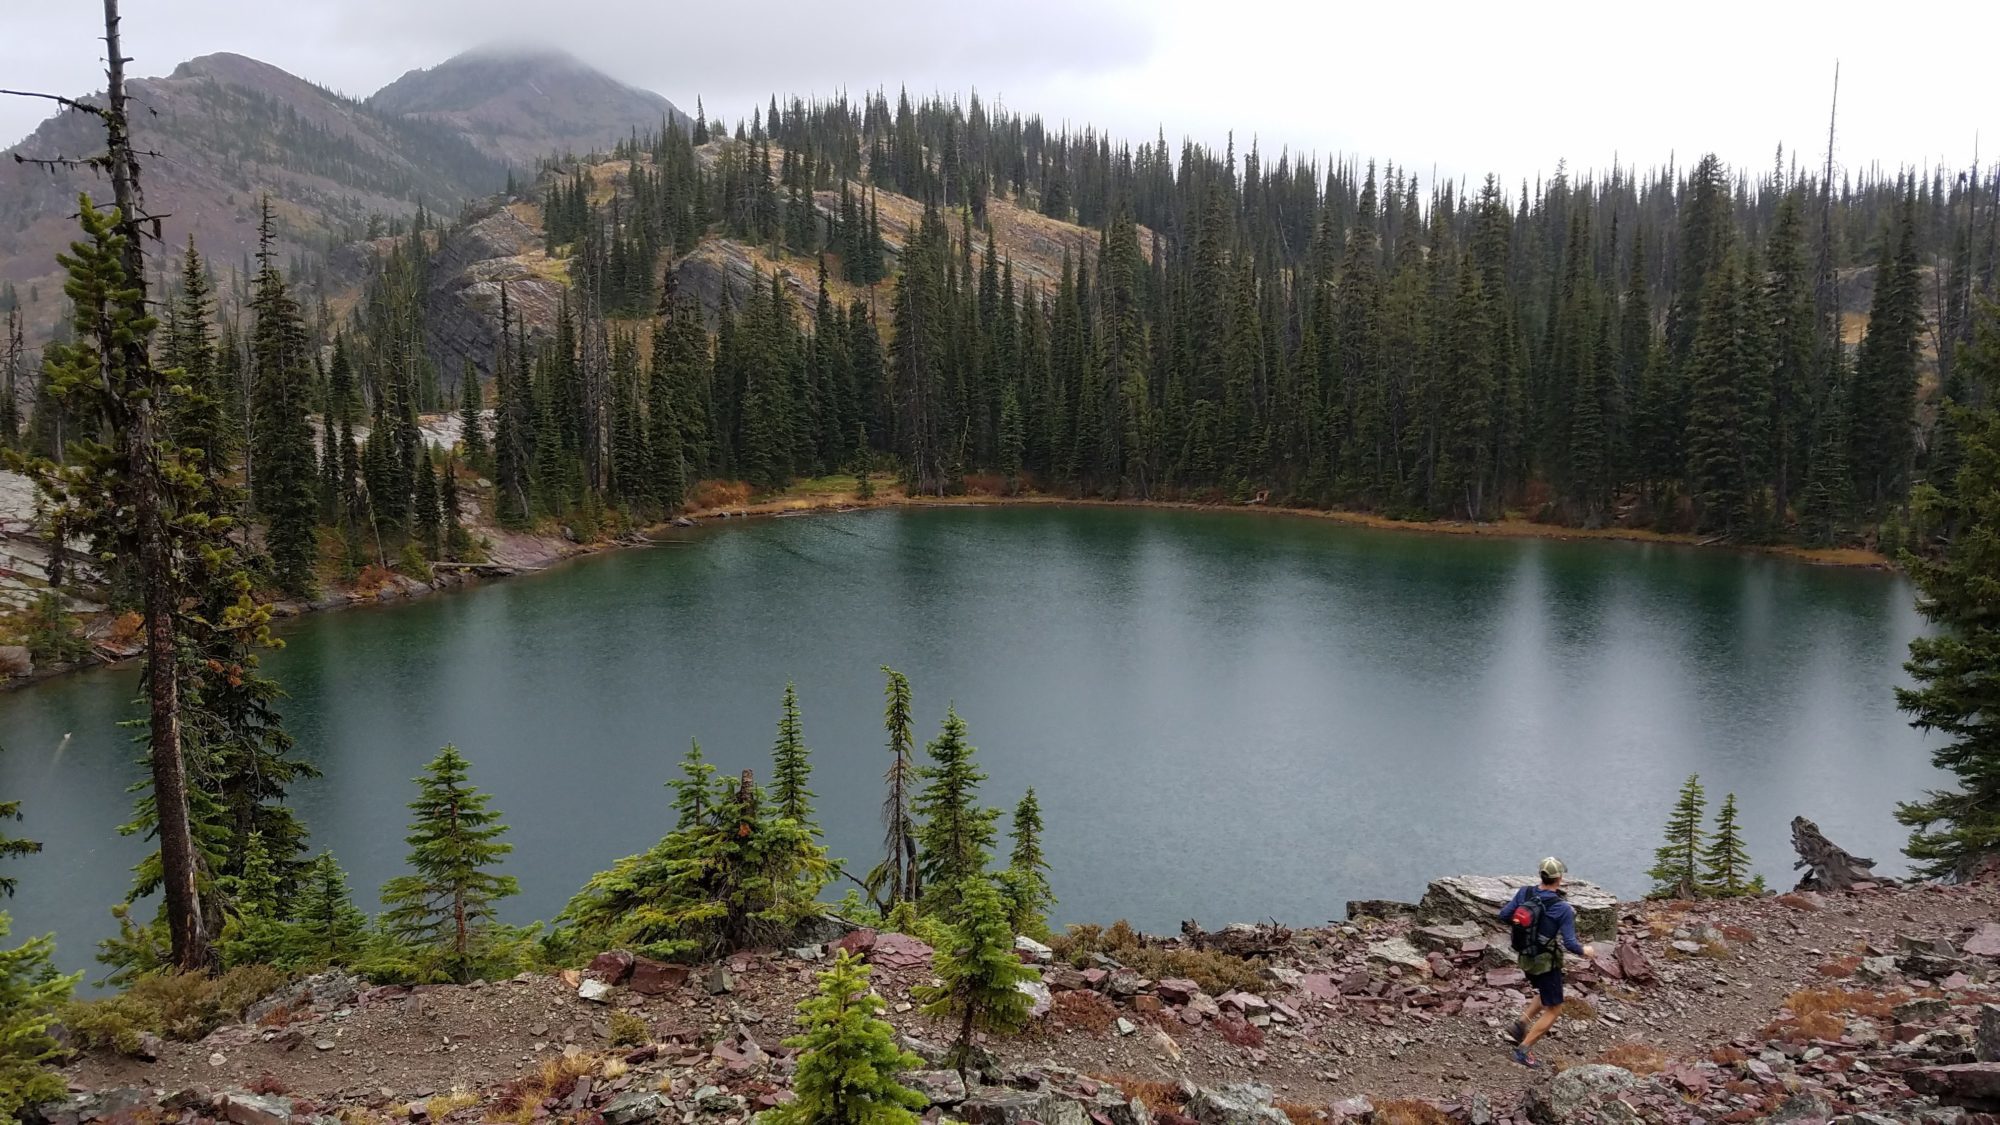
Back at the remote Northern B.C. lake, we were on day 6 of an 11 day fly-in backpack hunt. Our targets were stone sheep, caribou, and mountain goat. Day 4 found us processing an old ram and by the evening of day 5, we made it back to our lakeside camp with a couple hours of daylight to spare. The sheep meat was repacked and put on dry ice in the YETI, we cracked a beer or two and I started casually fishing from the shore. The great thing about these remote lakes is they are usually chock full of fish, and because they rarely see a lure they tend to smash anything you throw out there. The end result is a fish every other cast.
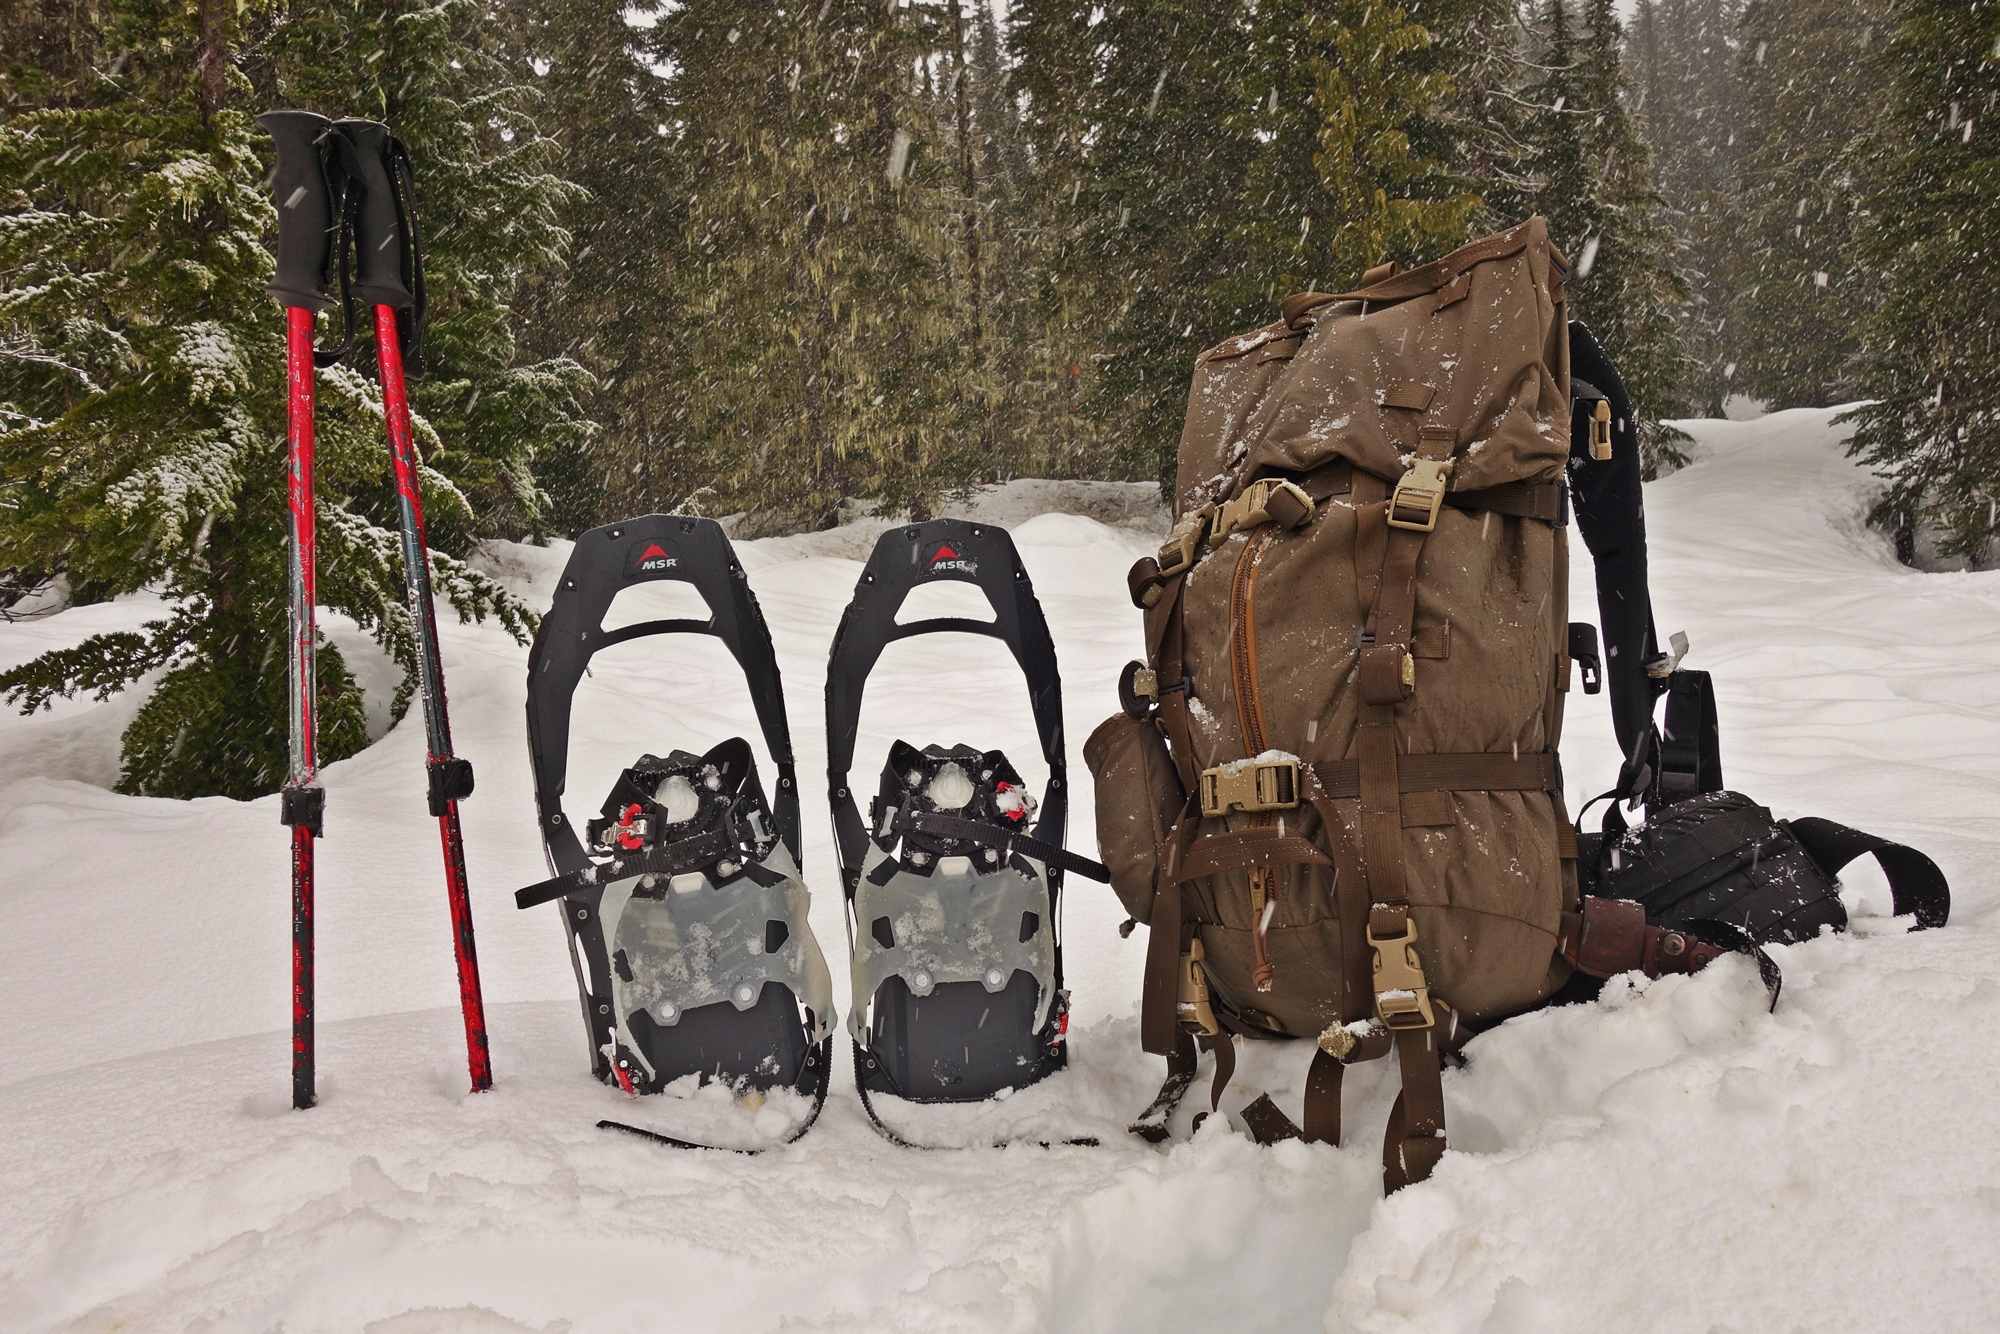
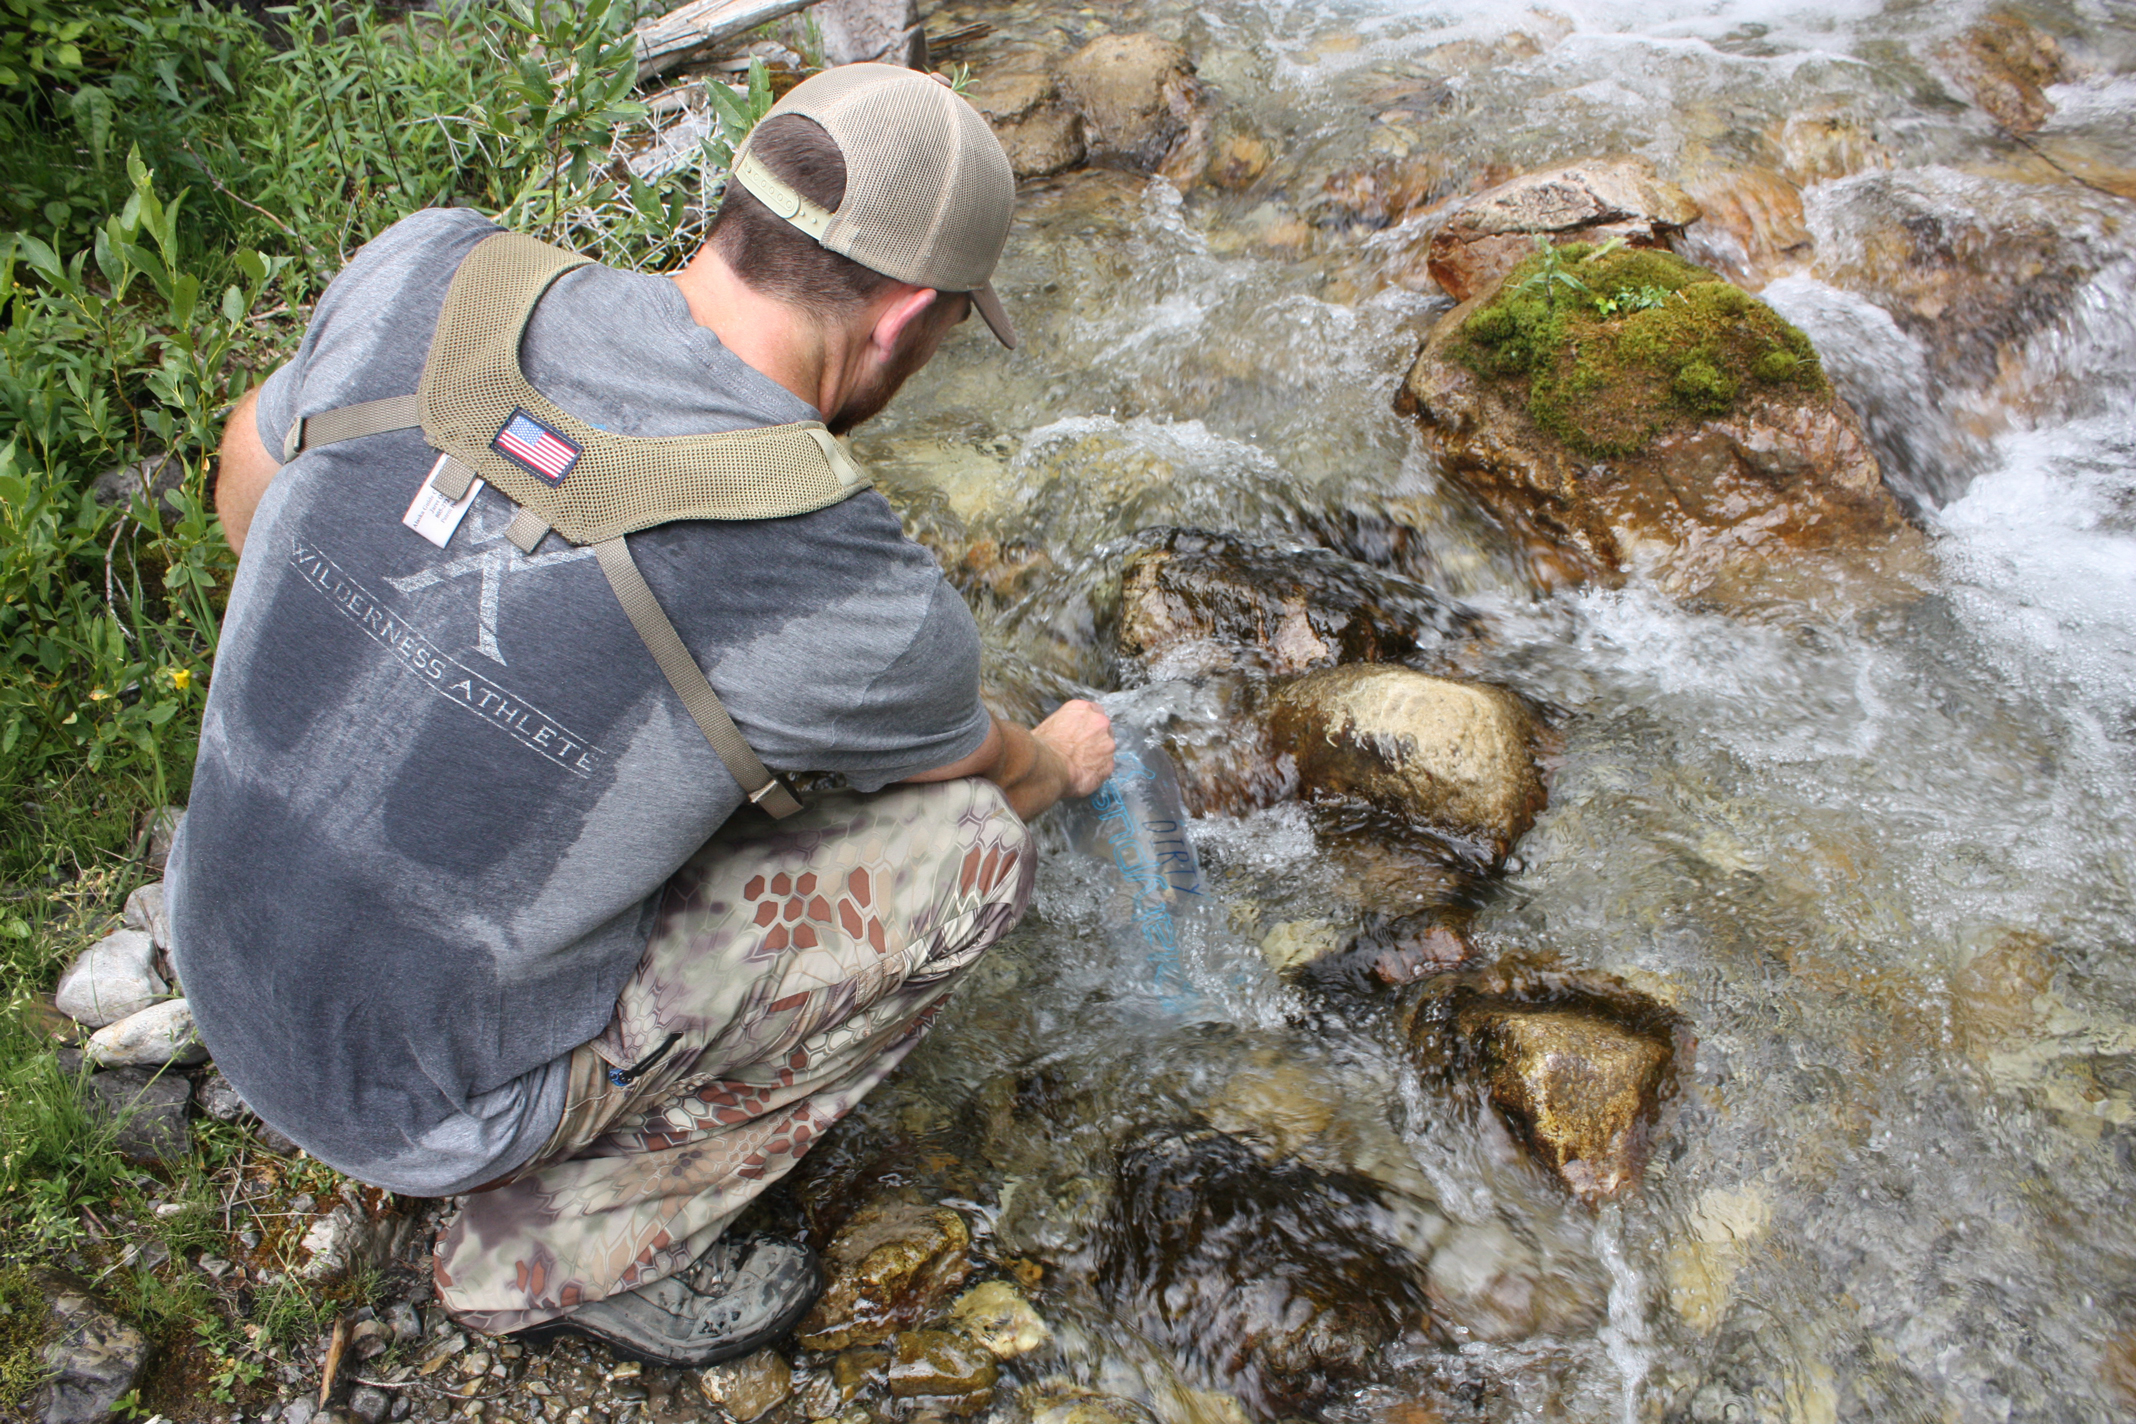
Packing for this hunt I was going super minimal. Sheep hunting is hard, I had a lot of tags in my pocket and figured we would be out in the mountains the entire trip. The only backcountry grilling equipment I had brought was a cast iron pan, a pound of butter and a ziplock bag of my homemade, semi-custom seasoning mix. A complete 180 from how I would usually pack.
The best backcountry meal I have ever had? A whole, gutted trout, seasoned and fried till crispy in salted butter. The outside was browned, the fins were crunchy and salty and the flesh touching the bones was still medium rare. It was perfect. The simplicity and rusticity of the fish couldn’t have been better given the setting. It made sense on every level.
For a good chunk of my cooking career I was caught up in the trend of working my food over to make something new. What struck me as I was eating this trout is how much better a simple and rustic approach works in the backcountry. Simplicity is key. Butter fried whole trout will best a boneless, rolled poached trout dish. Fire grilled sheep ribs with ramen seasoning will best braised sheep ribs with butter whipped mashed potatoes, etc. You get the idea.
So that’s great, this guy has this revelation but how the hell does it apply to me? Well, over the remainder of the year I am going to be writing regular articles about backcountry grilling for the WA journal. My goal is to convince you that cooking game in the backcountry is actually remarkably simple and extremely rewarding. Whatever kind of backcountry cook you are there is going to be something in these articles to take you to the next level.
This first article is all about learning the very basics of backcountry grilling. Pantry items, equipment, how to pack etc. and future articles will revolve around whatever is in season. My next installment will feature spring turkey tacos and margaritas, just in time for Cinco de Mayo and gobbler season.
THE MOST BASIC OF BASIC PANTRIES
Here it is. These are, in my mind, the most basic necessities for me when I am going to go cook in the backcountry or fry up a quick fish/grouse out of the back of my truck. It only gets more complicated from here but remember, it doesn’t need to be.
Fire starter: Whatever type you like.
Knife: If I know I will be cooking then I will pack a general camp knife otherwise I usually just have a Havalon on me.
Metal spoon: I always carry this for eating backpack meals regardless of what I plan to cook. I like the long ones for when you are cooking close to the fire.
11” Cast iron pan: No replacement for a great cast iron. Couple brands that are good, Lodge, Le Crueset, Finex.
Collapsible non-stick frying pan: I will bring this in lieu of my heavy cast iron if I plan to cook on a backpack trip. On a 5+ day backpack hunt this will stay back at the trailhead for when I come out.
Seasoning: The simplicity of seasoning salt is awesome in my opinion but you can just as easily go with regular salt and pepper. Use seasoning salt straight up or add a bunch of spices and turn it into something custom like a California BBQ rub or a spicy curry blend. Whatever your flavour is seasoning works great as a base.
Butter or oil: Butter doesn’t need to be refrigerated so you can pack it into the backcountry in a ziplock bag. If you prefer oil, then I suggest keeping it in a small flask. I have used plastic containers meant for oil before but I find they burst in your backpack or they begin to leak over time. The flask is a surefire way to transport oil safely and it adds a touch of class to your cooking.
For backcountry grilling I won’t pack any cleaning stuff: When you are done cooking throw a bit of fresh water and gravel into your pan, swirl it around and wipe it out with some evergreen boughs or grasses.
NEXT LEVEL PANTRY
If I am cooking out of the back of my truck and have some specific meal in mind I will have everything above and add the following things to the mix.
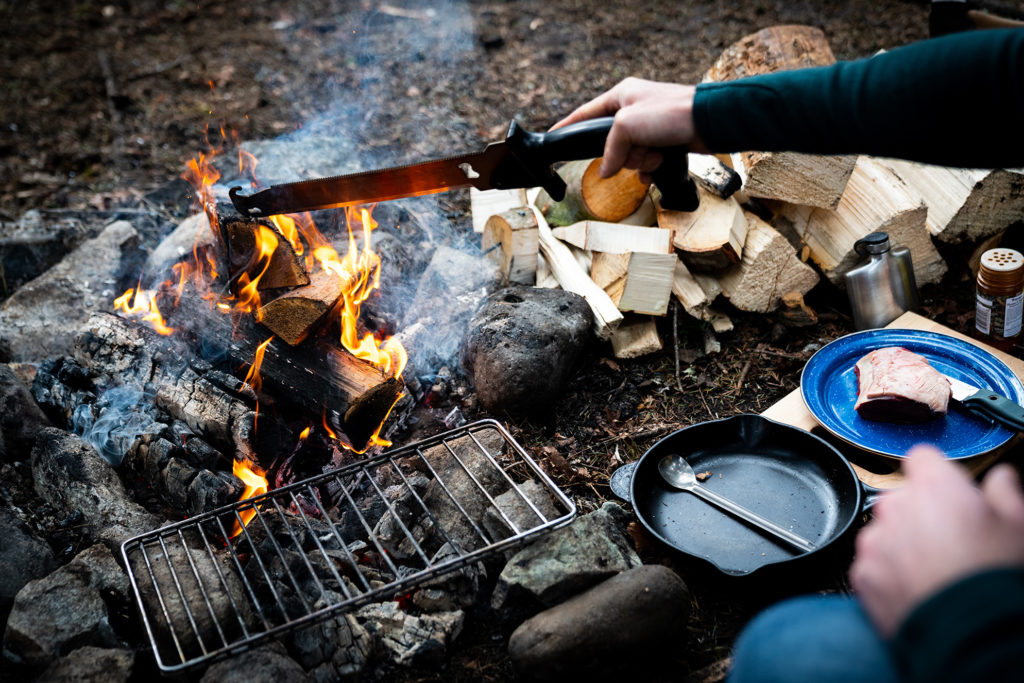
Axe: No explanation needed.
Outdoorsmans TrailBuster: You might think this is a shameless plug but it’s not, I promise. I grabbed this last minute out of my truck for my last cooking session and it was perfect for adjusting the fire and moving coals! Everything should serve two purposes in the backcountry and I just found a 70th use for the TrailBuster. Coming along for all of my cooking sessions now.
Grill grate: You can find these at all sorts of stores or you can use a grate from an old BBQ. This enables me to grill something over the fire or create a flat surface to use a frying pan, toast some bread etc.
Pot: Something that you don’t care about getting beat up.
Plates: When weight and space isn’t an issue then this is a no brainer. It also gives you some options to lay out meat to be seasoned etc.
Cutting board: Something small and wooden is all you need. Wood is better than plastic because it doesn’t hold as much bacteria. Hardwood is best.
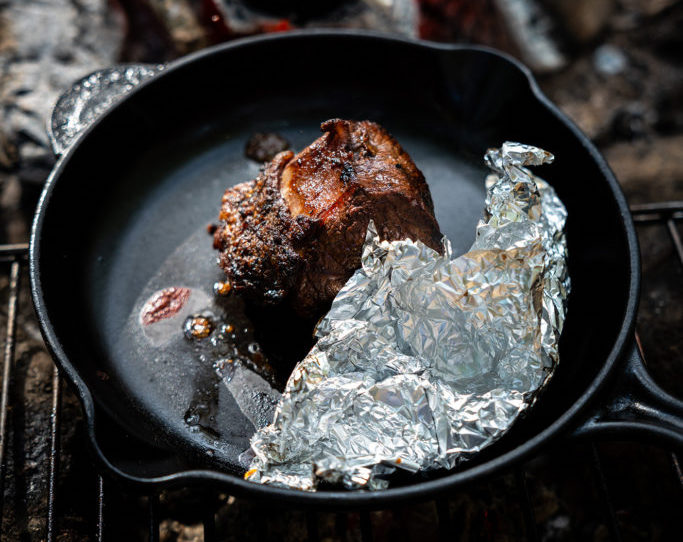
Aluminum foil: This comes in handy for a ton of stuff. Grill fish in an aluminum boat, wrap up vegetables to roast in the coals, resting meat, wrap up left overs, etc.
Soap soaked scrubby: Drop some biodegradable soap onto a scrubby and put it into a ziplock. The soap should last for at least a couple uses.
Fresh stuff: Garlic, herbs, cheese, bread, sprouts or whatever floats your boat.
Dry goods: Whatever blows your hair back. Some things for me would be pickled jalapeños, soy chilli oil, mustard, sriracha etc.
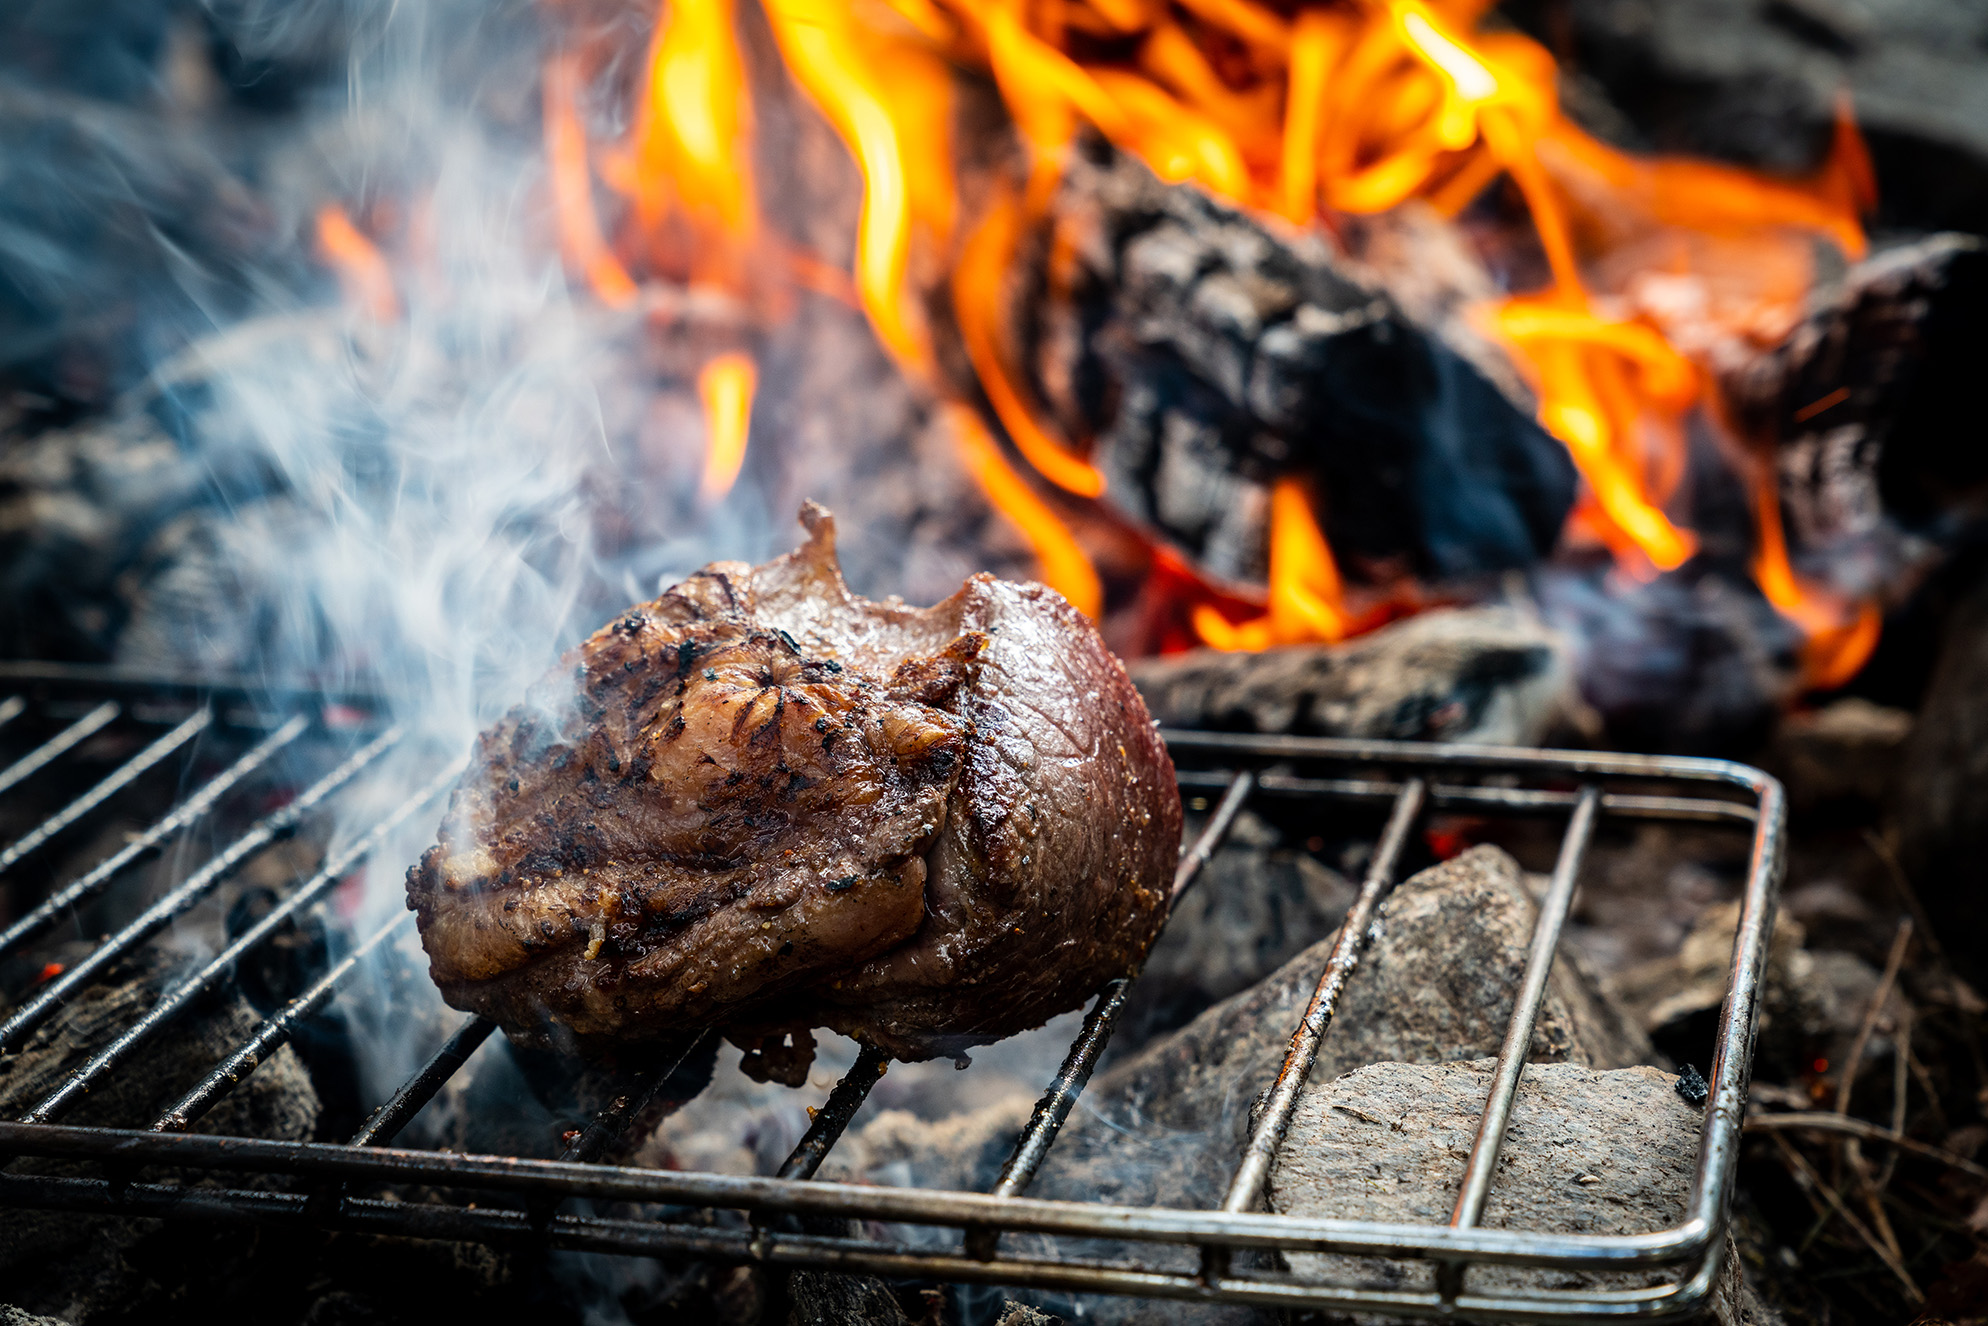
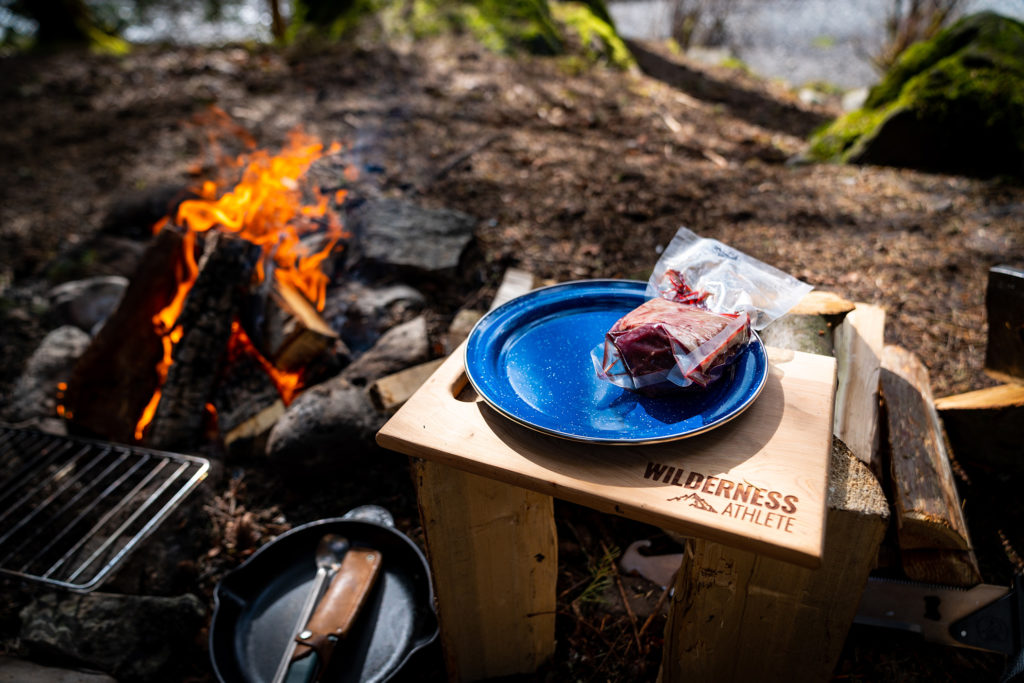
I won’t dive into how I use all these items right now, saving that for future articles, but what I will do is leave you with some very basic guidelines for grilling meats over fire. These are just some basics that every outdoors person should know if they are cooking their kills out in the bush. I used backstrap from an early season mule deer for this shoot but you can use a similar cut from any ungulate. Moose, elk, whitetail, axis etc. Just make sure its a suitable cut for eating as a roast.
BEST PRACTICES
Start your fire early and build a big bed of coals: For most applications cooking over coals is preferable to flames as coals are much easier to manage and leaves less charcoal residue on your food.
Build a rock foundation to rest the grill grate on: I am partial to two parallel lines of rocks coming off one side of the fire. This allows you to push coals under the grate and manage them from both sides. Be careful of using river rocks, they can explode when they are heated by the fire. For this style of cooking it’s easier to adjust the heat by moving coals than it is to adjust the height of the grill.
Season the meat: It is best to lightly oil the meat before you season. This will help the seasoning stick and minimize the meat sticking to the grill.
Start the meat over high heat: The first priority is always to brown the meat and hitting the temperature comes second. It’s easy to slow down the cooking or pull the meat off the heat if it’s too hot but its hard to get great color when you start cooking over low heat. There are exceptions to this of course, sheep ribs for example you would cook low and slow to develop the color and get the right cook.
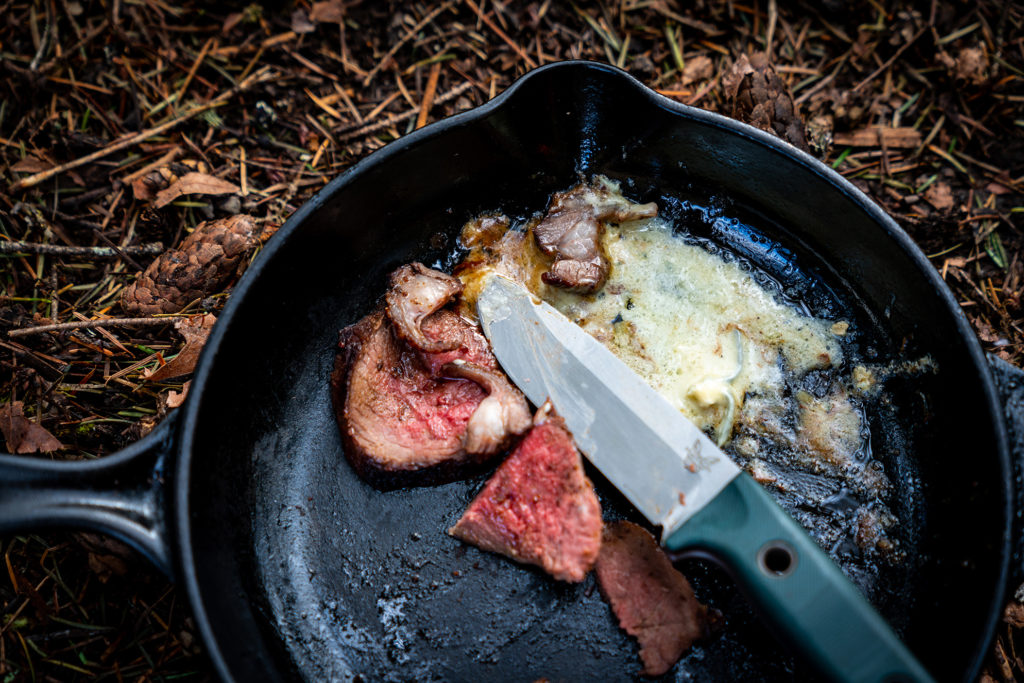
Let it rest: Minimum 5 minutes and let it rest longer when you get into bigger cuts of meat. You can always rewarm it before serving if needed. Resting is super important, it allows the meat to relax and the juices to re-distribute throughout the meat. This means less juices running out of the meat and a more even cook from edge to edge. Use aluminum foil to keep it warm while it rests.
Slice the meat thinly against the grain: Slicing against the grain helps to shorten the grains of the meat making it more tender in the mouth. This ensures that your guest doesn’t cut a thick slice and end up chewing it like cud for 5 minutes. It also shows off your cooking skills (assuming you hit the temperature you wanted….)
Don’t sweat mistakes. At the end of the day there is a certain magic to backcountry grilling over a fire and it will help cover up small mistakes. Everyone loves fire cooked meat in the backcountry, you got this.
