Field Dressing 101
The keys to great wild game table fare starts in the field. It begins the moment you lay your hands on your kill for the first time and requires management all the way to the table. Do your field dressing right and you will reap the benefits ten fold on the plate.
There are a handful of different ways to process an animal in the field but no matter how you choose to tackle the task the fundamentals are always the same.
Cool the meal as quickly as possible.
Keep the meat clean.
Manage the temperature & humidity.
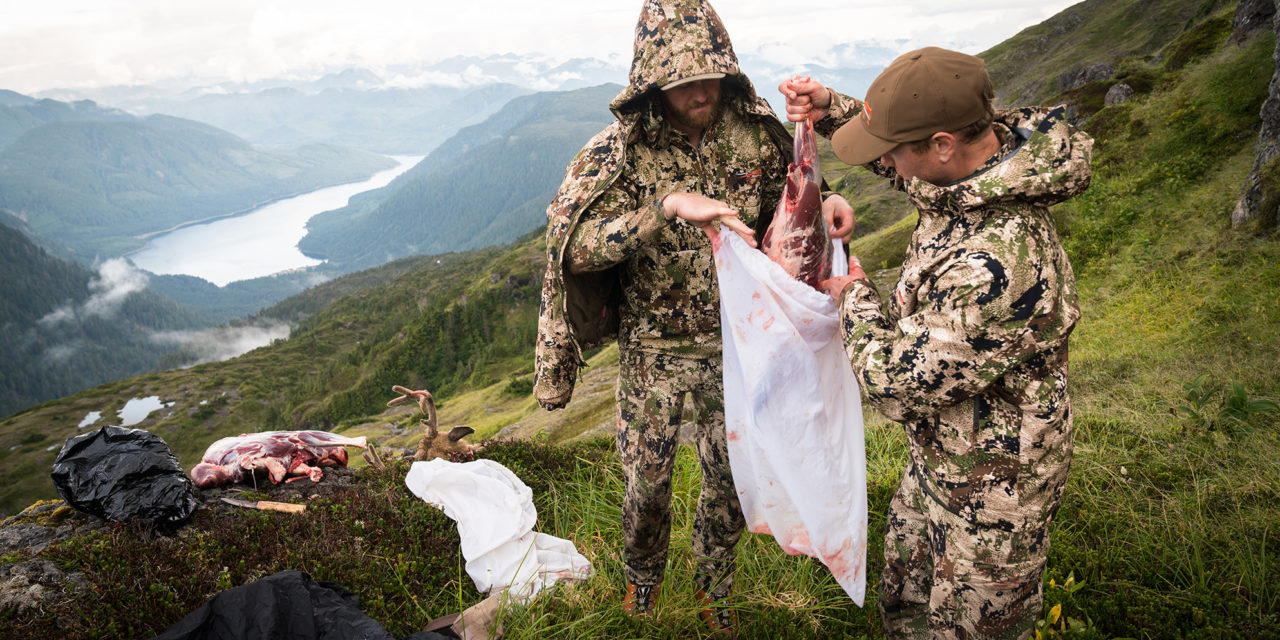
What follows is a photo essay that breaks down one method of field dressing an animal to be packed out in a backpack. Although size and bone structure may vary slightly between different species, this method can be used for all big game. Make sure to know the requirements for species and sex regulations in the area you are hunting and process the animal accordingly.
Bring the Basics
a sharp knife, extra blades or hooning steel
A semi-flexible boning knife is designed specifically for breaking down an animal and worth packing with you if you can spare the weight.
game bags
Get high-quality re-usable ones like T.A.G. or Caribou Bags and never worry about blow flies again.
Zip Lock Bags
These come in handy for saving offal like heart, liver and kidneys.
Field Dressing Steps
1. Move the animal to a level surface and clear yourself some space to work around it.
2. Lay out the ziplock and game bags so they are ready to go.
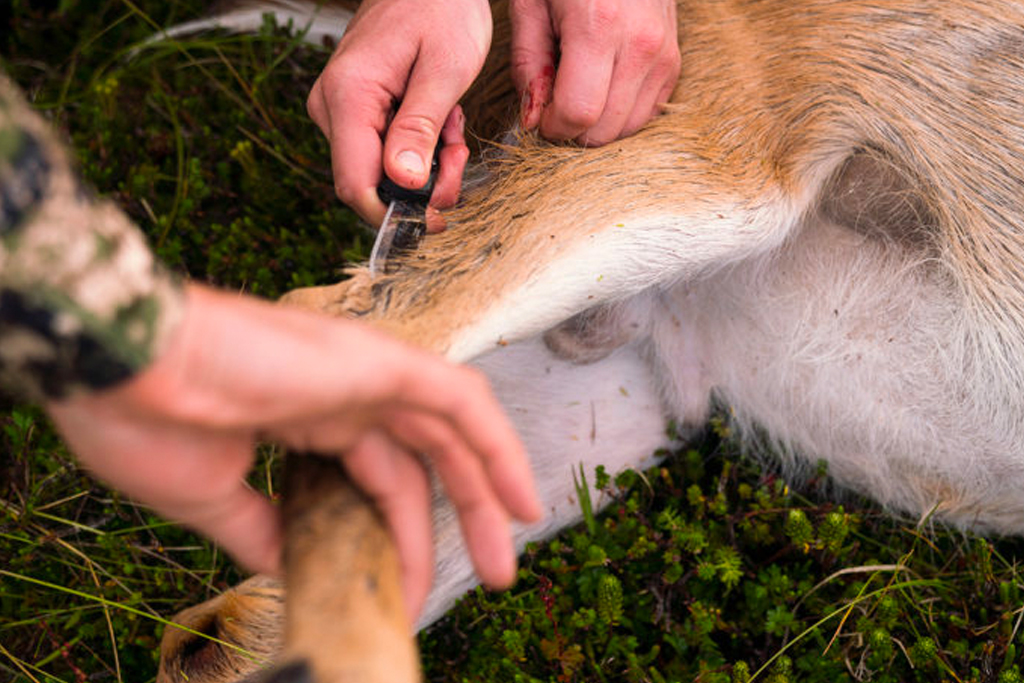
3. Cut through the hide along the backbone from the base of the tail to the base of the skull. Slice the hide from the inside out, this helps to cut less hair and keep the meat cleaner.
4. Cut down the back of the hind leg all the way past the knuckle on the lower leg. Just above the knuckle on the inside of the leg there is a patch of hair called the tarsal gland, be sure not to touch the gland as it can transfer an off putting taste onto the meat.
5. Make a cut along the length of the shoulder from the backbone to below the knuckle on the lower leg.
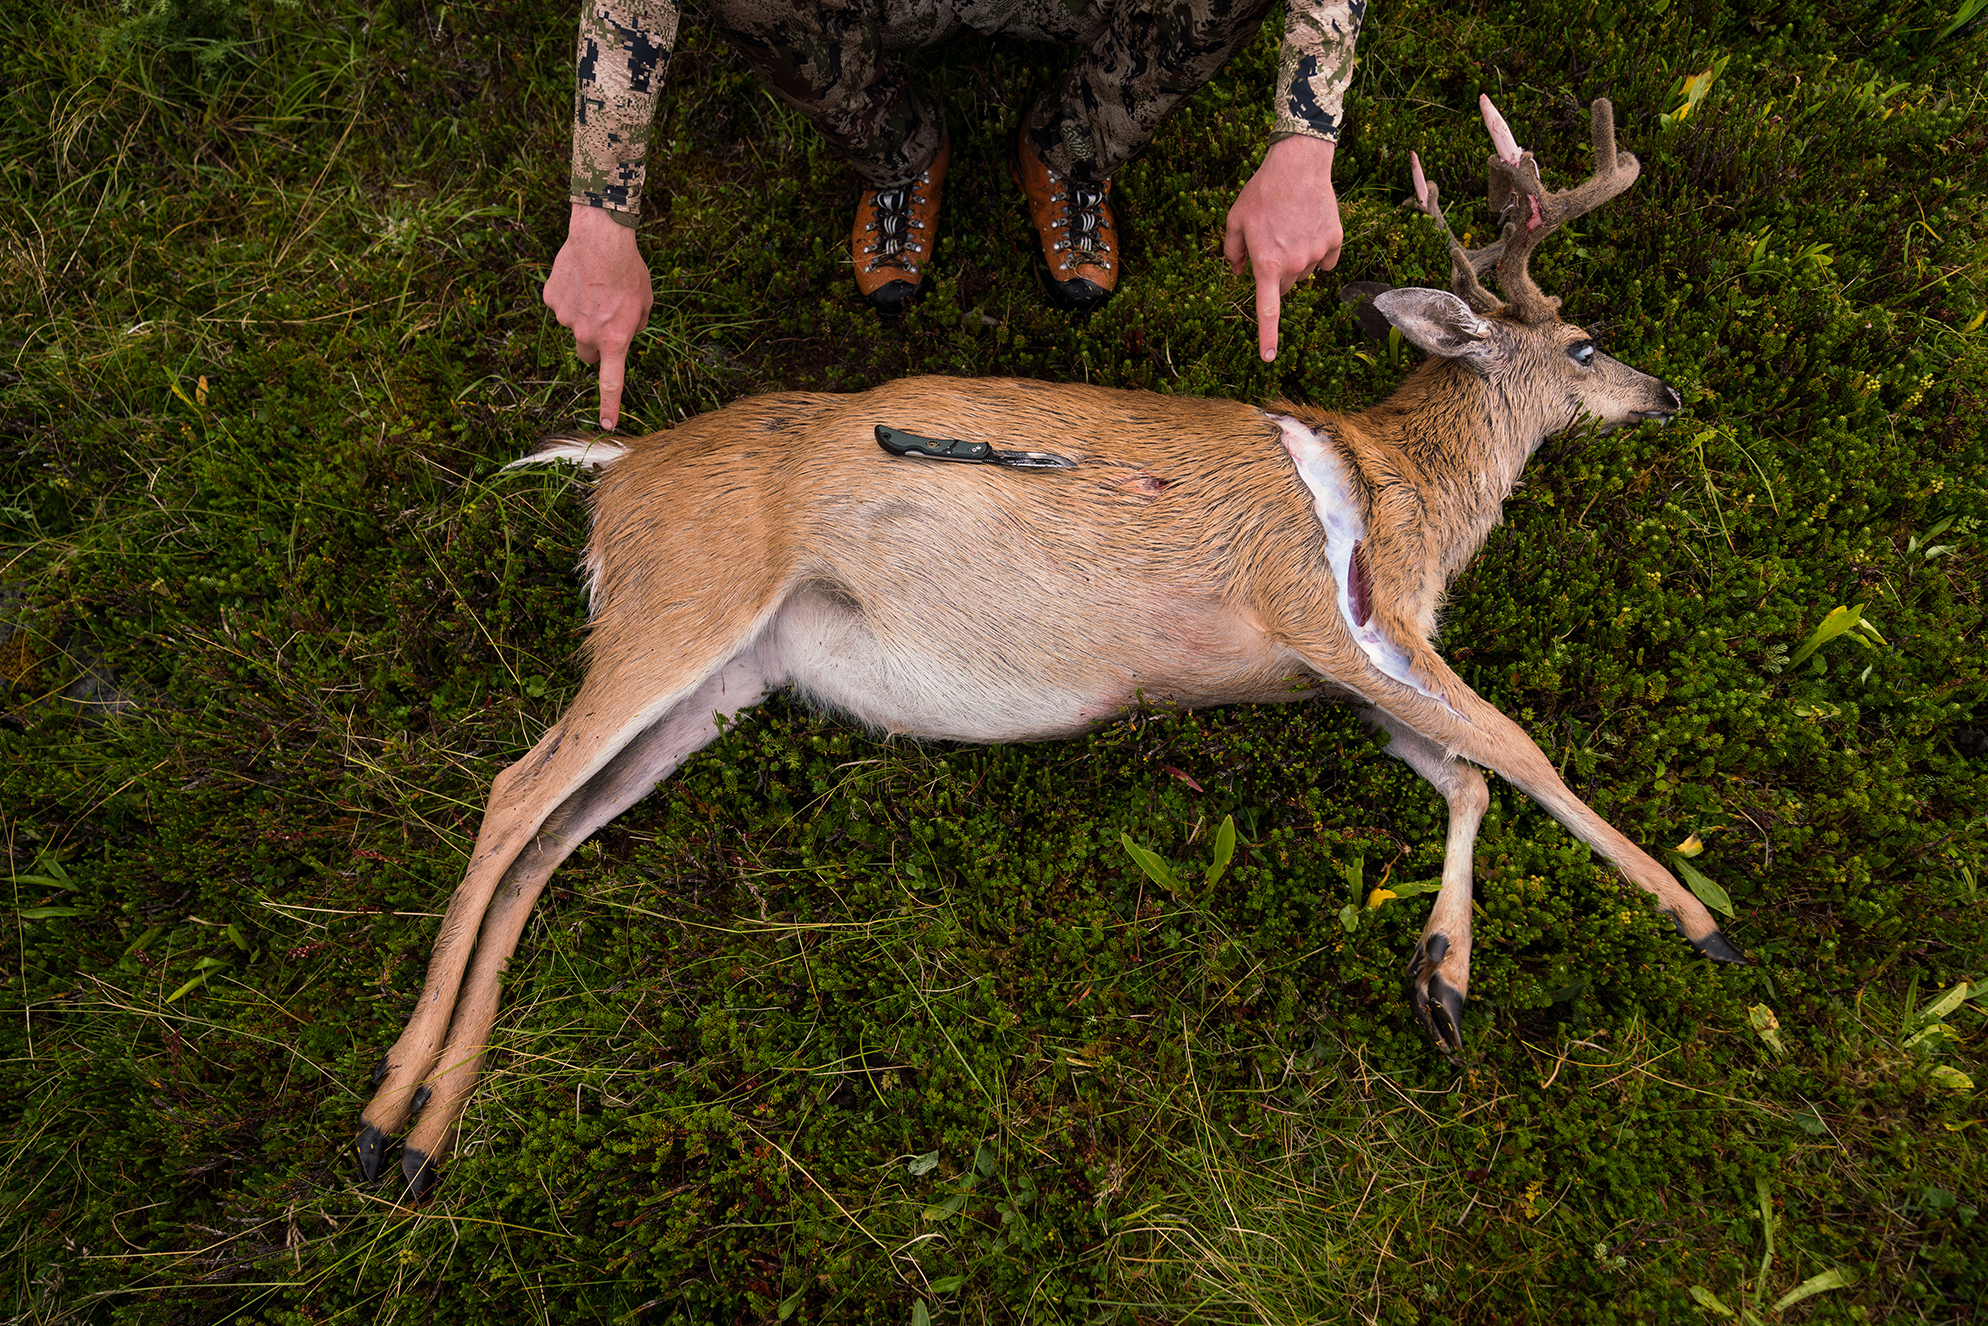
6. Carefully skin the first 3-4” down from the backbone incision. Make sure to get all the meat skinned from the hide.
7. Hold the edge of the hide with one hand, make a fist with the other hand and quickly punch it down the ribs and legs to free the hide from the meat. This works best when the carcass is still warm.
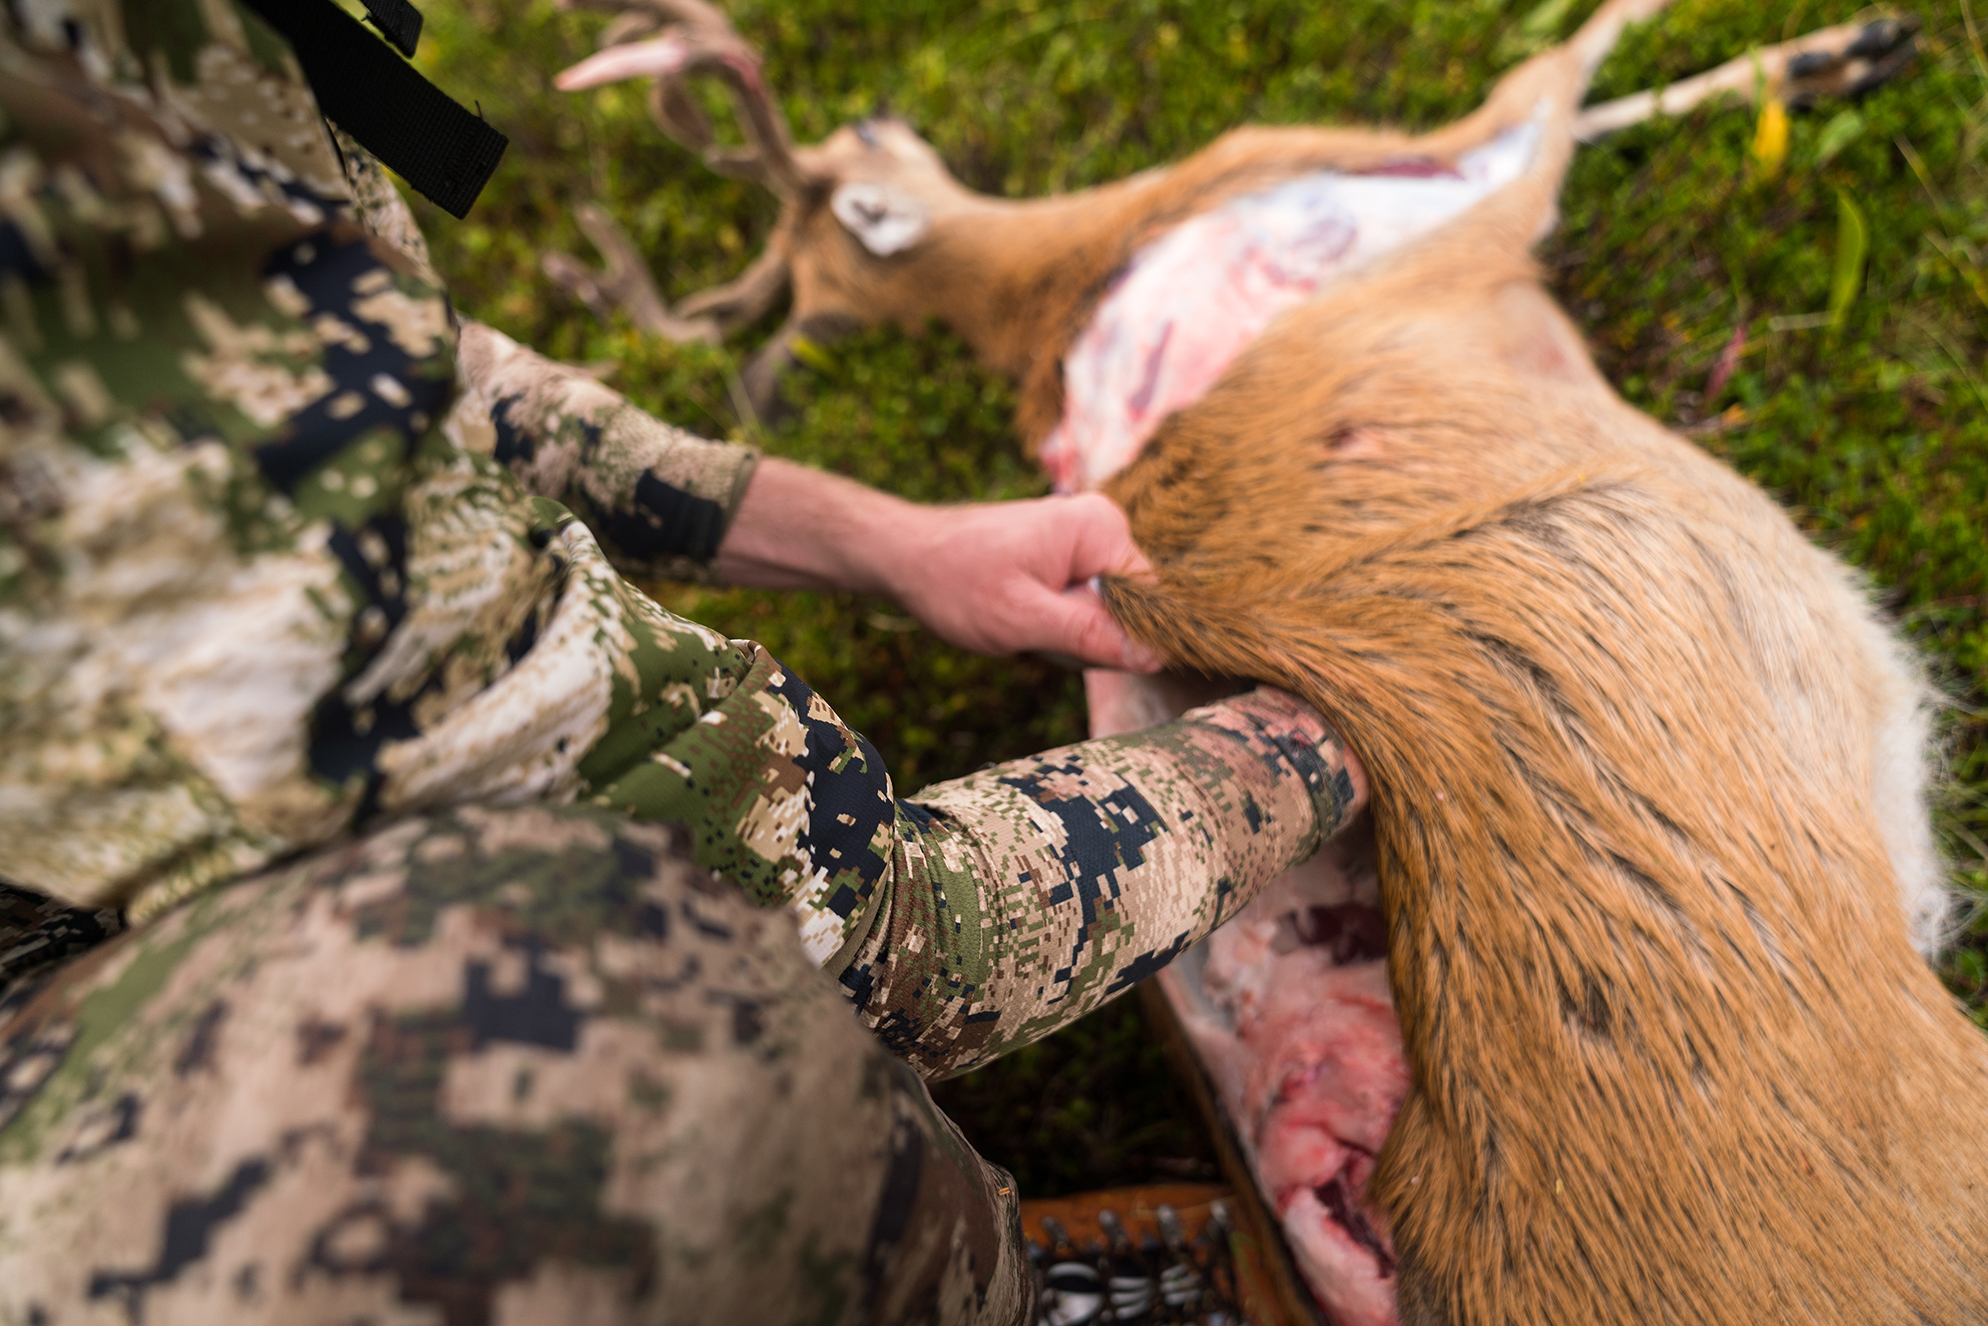
8. Slice around the hind leg below the knuckle and carefully skin the leg.
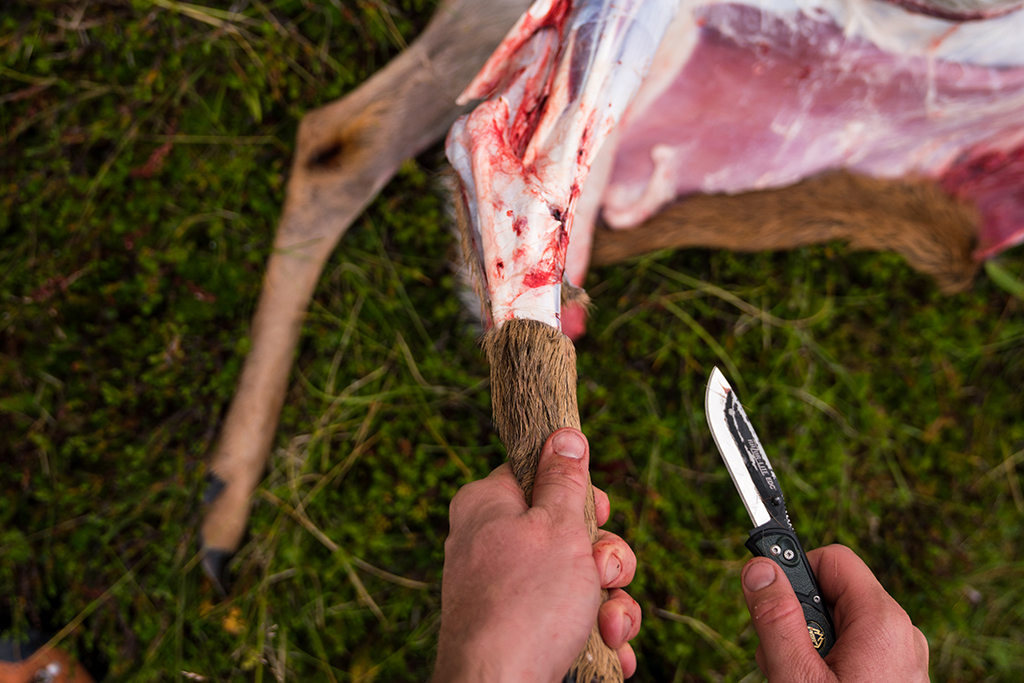
9. Lift the leg up and slowly cut into the seam where the legs meet under the belly. Use the outside of the pelvic bone as a guide and let your knife slide along it to find the ball joint. Be sure to avoid cutting the urethra (the urinary tract) that runs up the middle of the belly. It helps if you can get a partner to hold the leg while you do this.
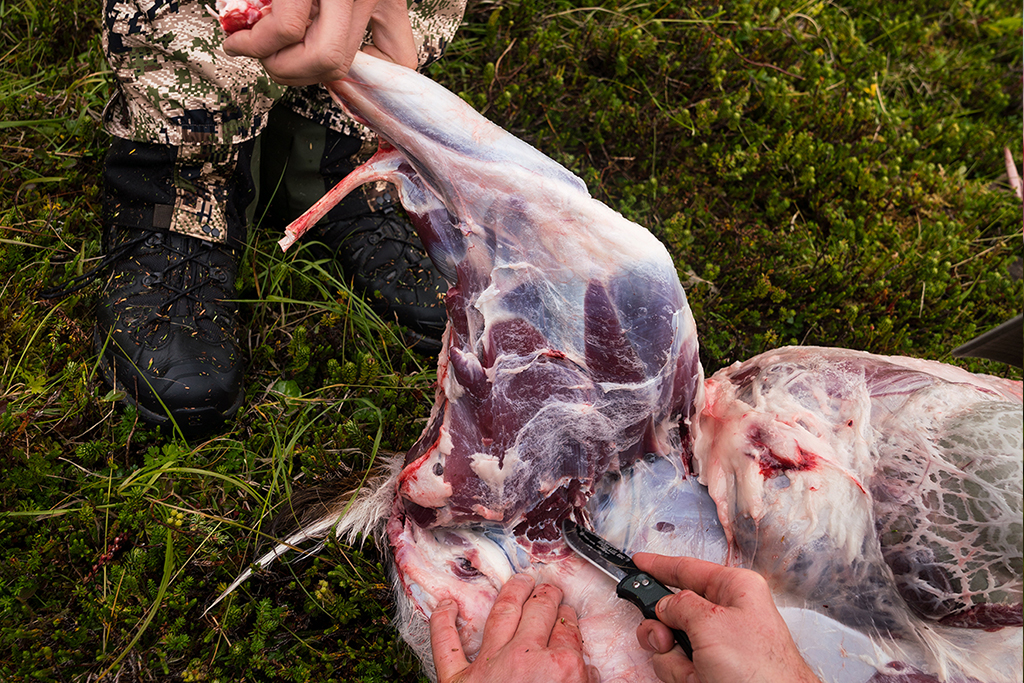
Place the hind leg into a game bag with the shin and hoof sticking out. Use the bag to hold the leg and remove the shin and hoof at the joint. *In the photos the lower leg was removed earlier in the process, either way works.
10. Repeat the same skinning process on the front leg.
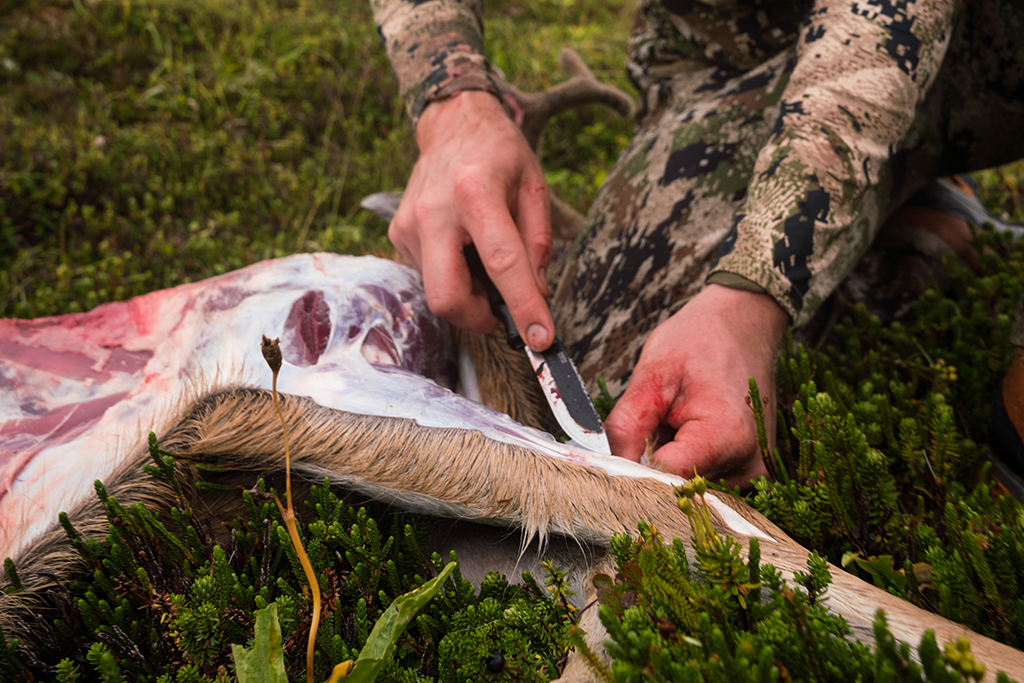
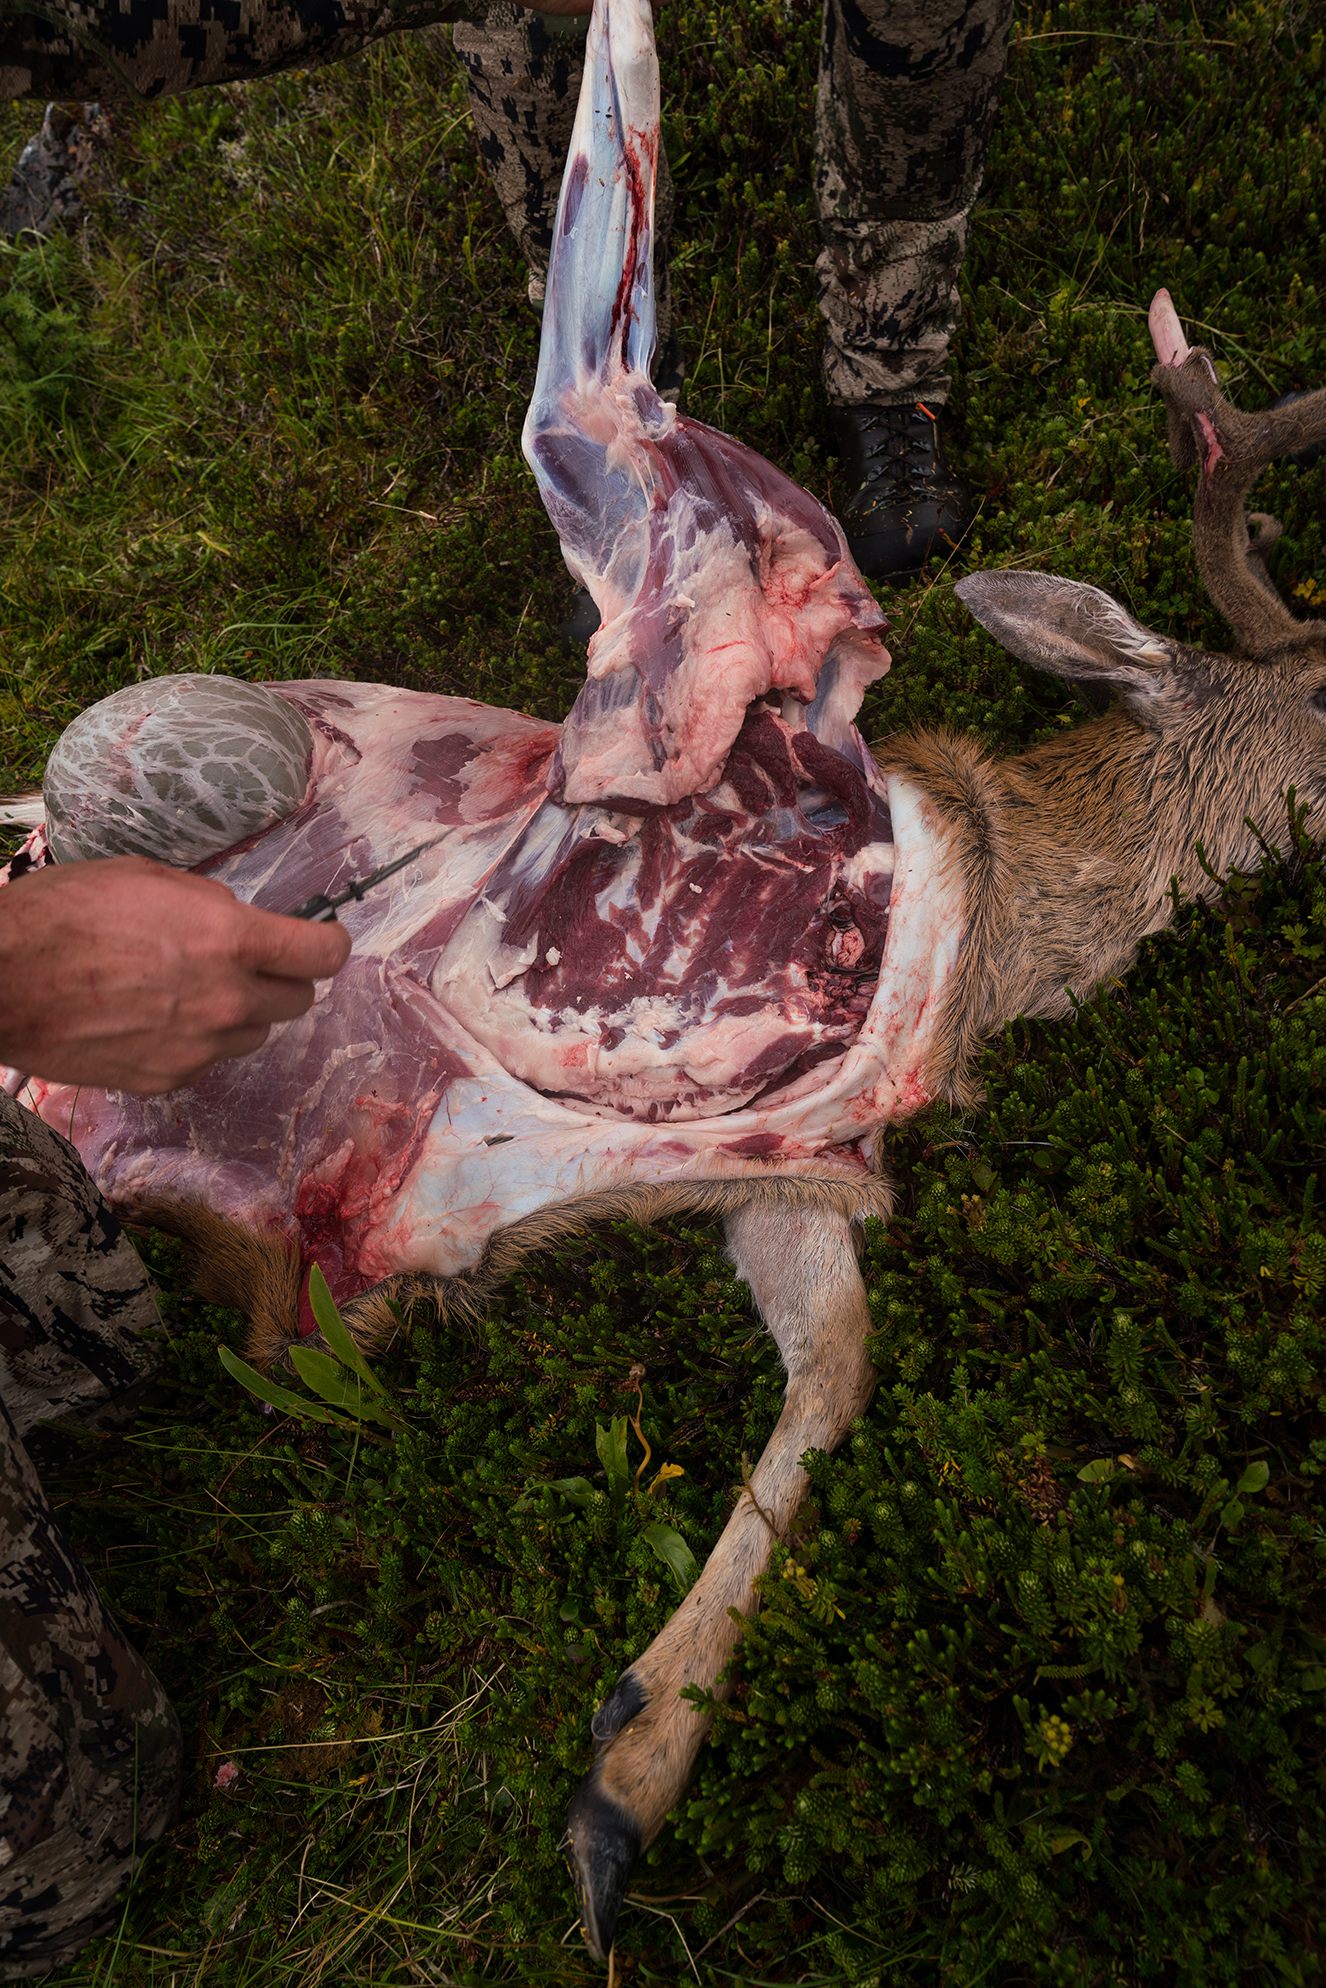
11. Lift the leg up and starting at the crown of the breast plate, cut along the ribs up to the backbone and remove the shoulder. There are no bones or joints holding the leg to the body.
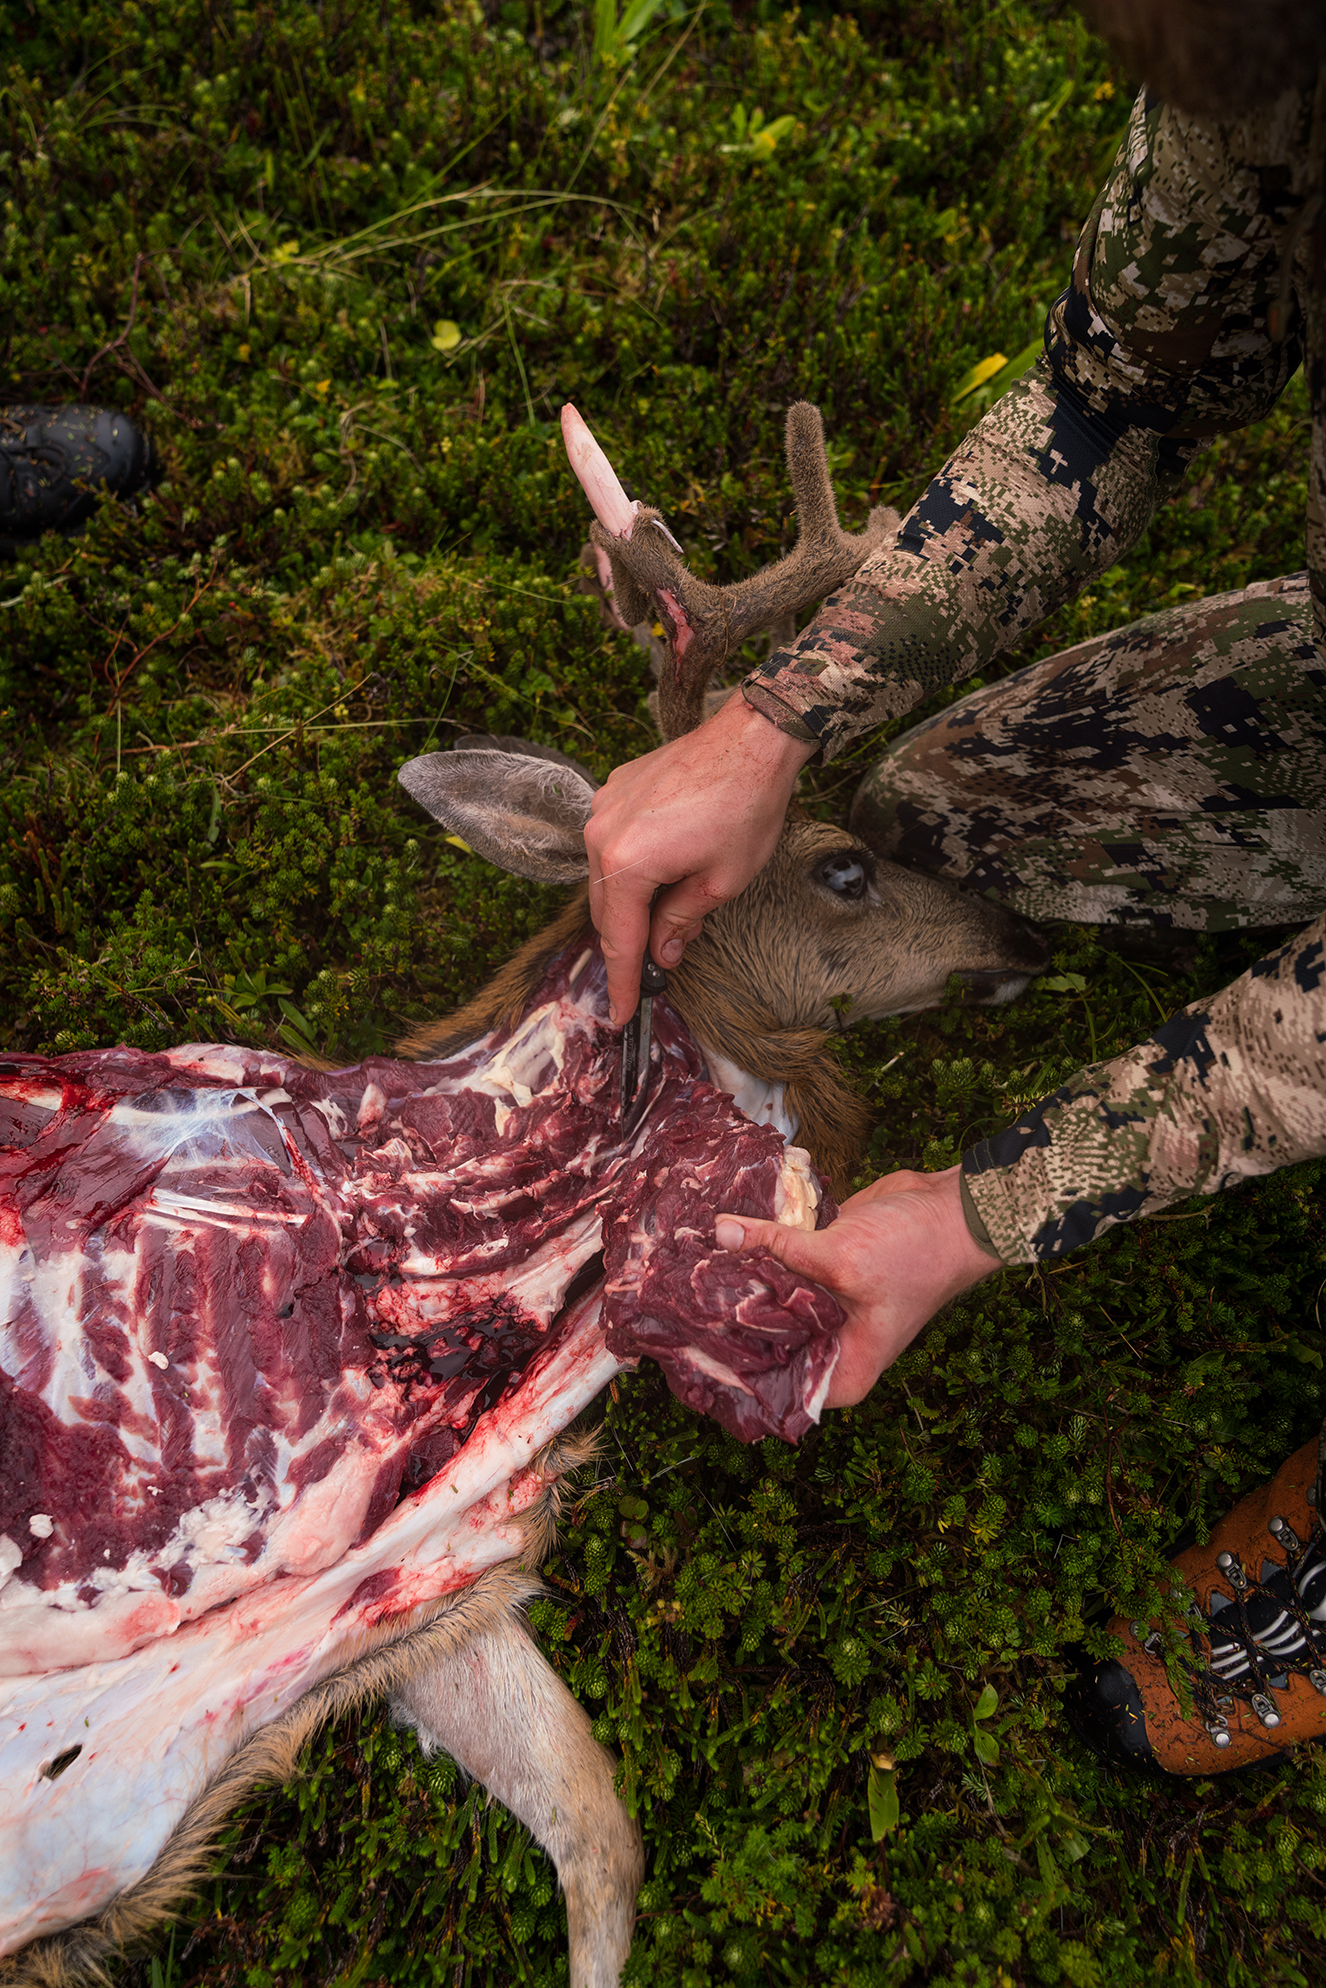
12. Repeat the bagging process and remove the lower leg and hoof.
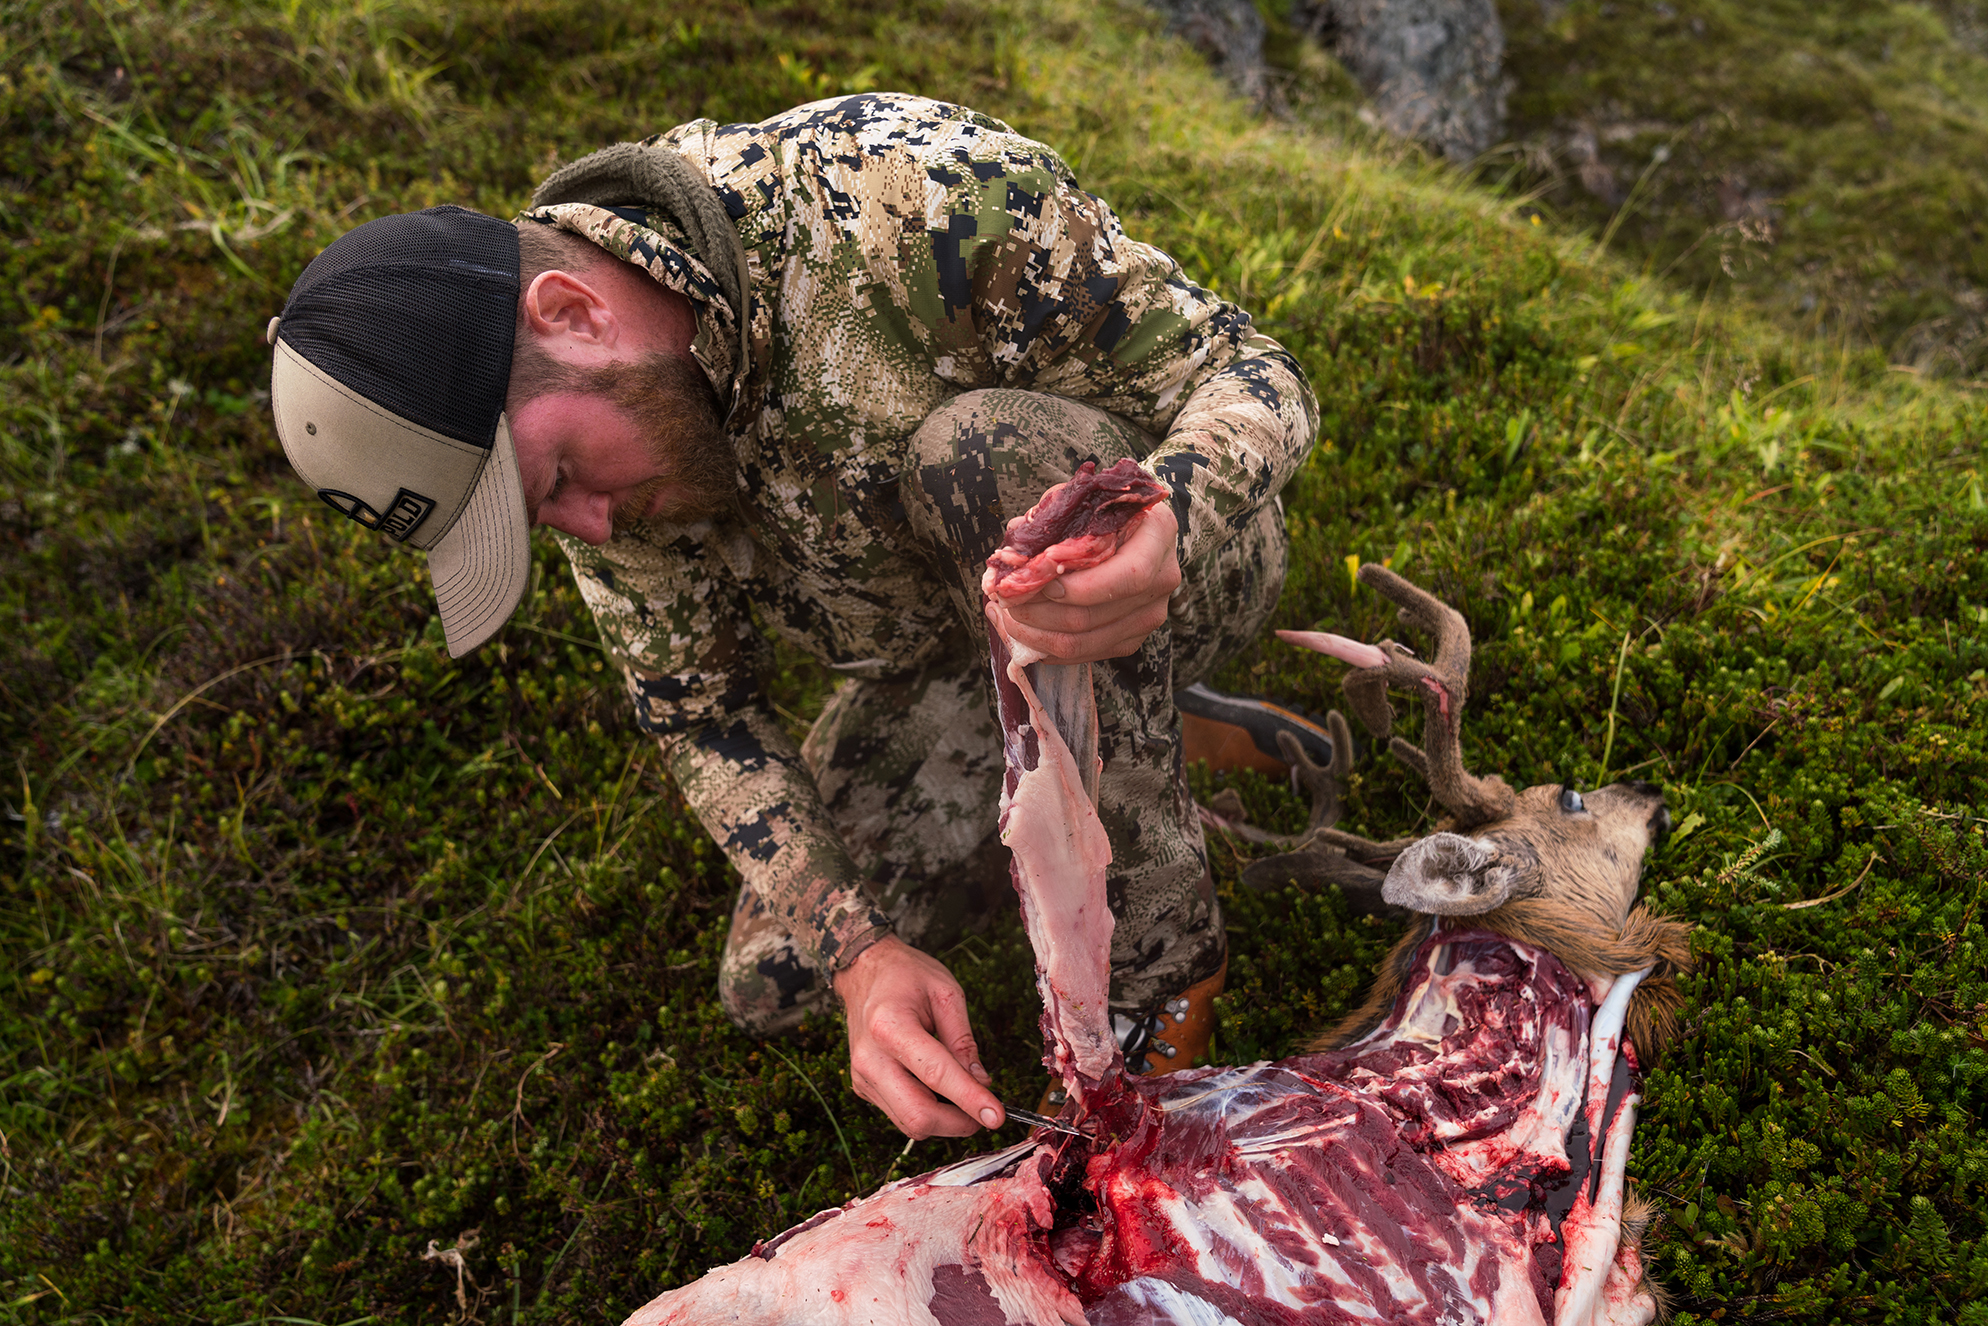
13. Beginning on the top of the backbone, work the neck meat off the backbone and remove the first side in one piece. Make sure to remove the trachea from the neck meat and remove any large yellow connective tissue, this will improve the eating experience.
14. Remove the backstrap by following the contour of the ribs and backbone with the knife.
15. Carefully remove all the rib meat making sure not to puncture any of the digestive tract.
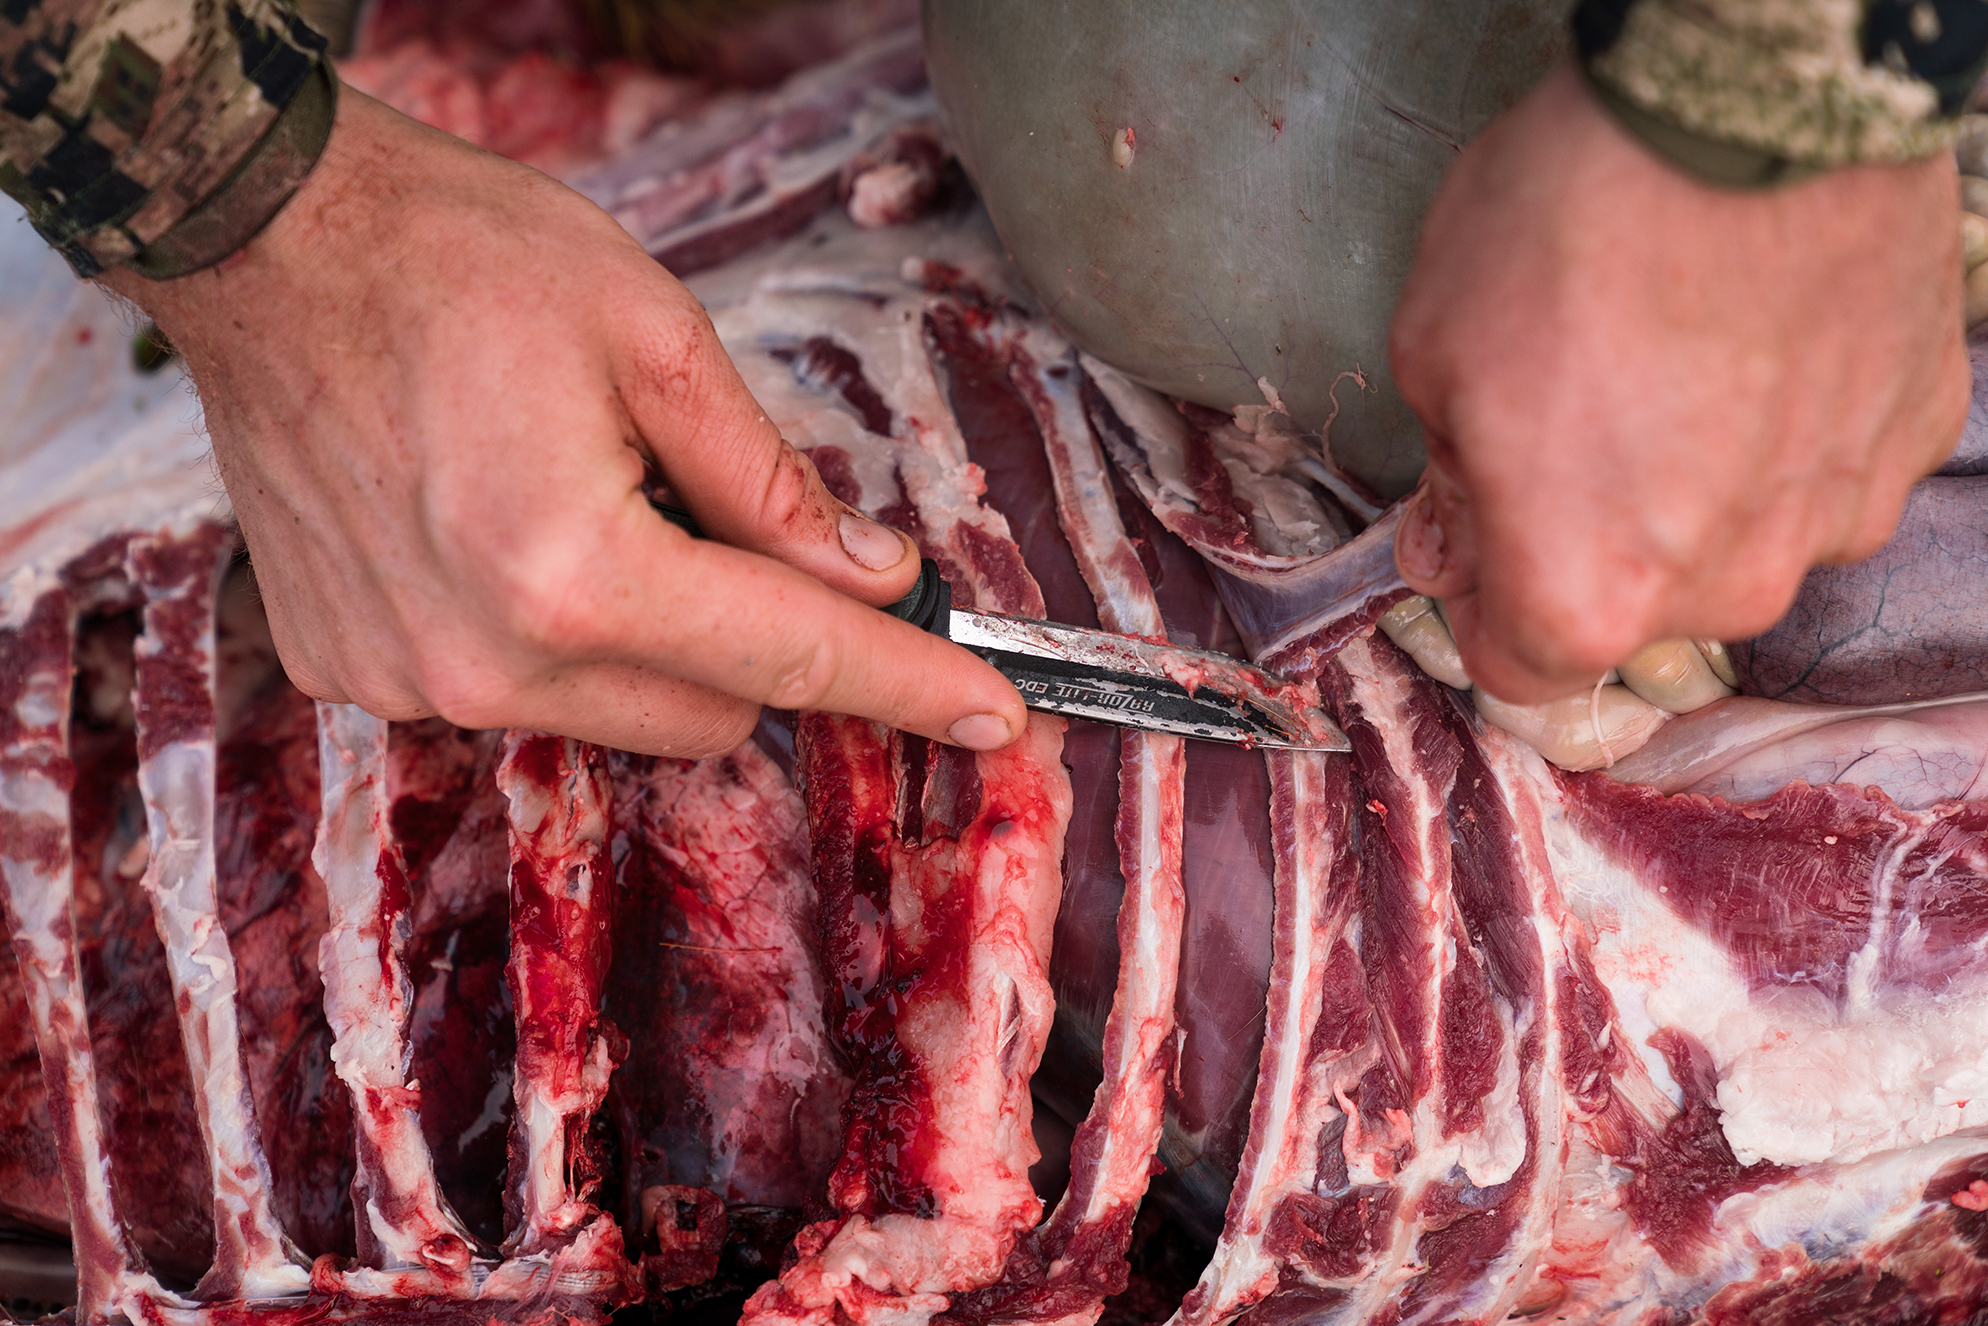
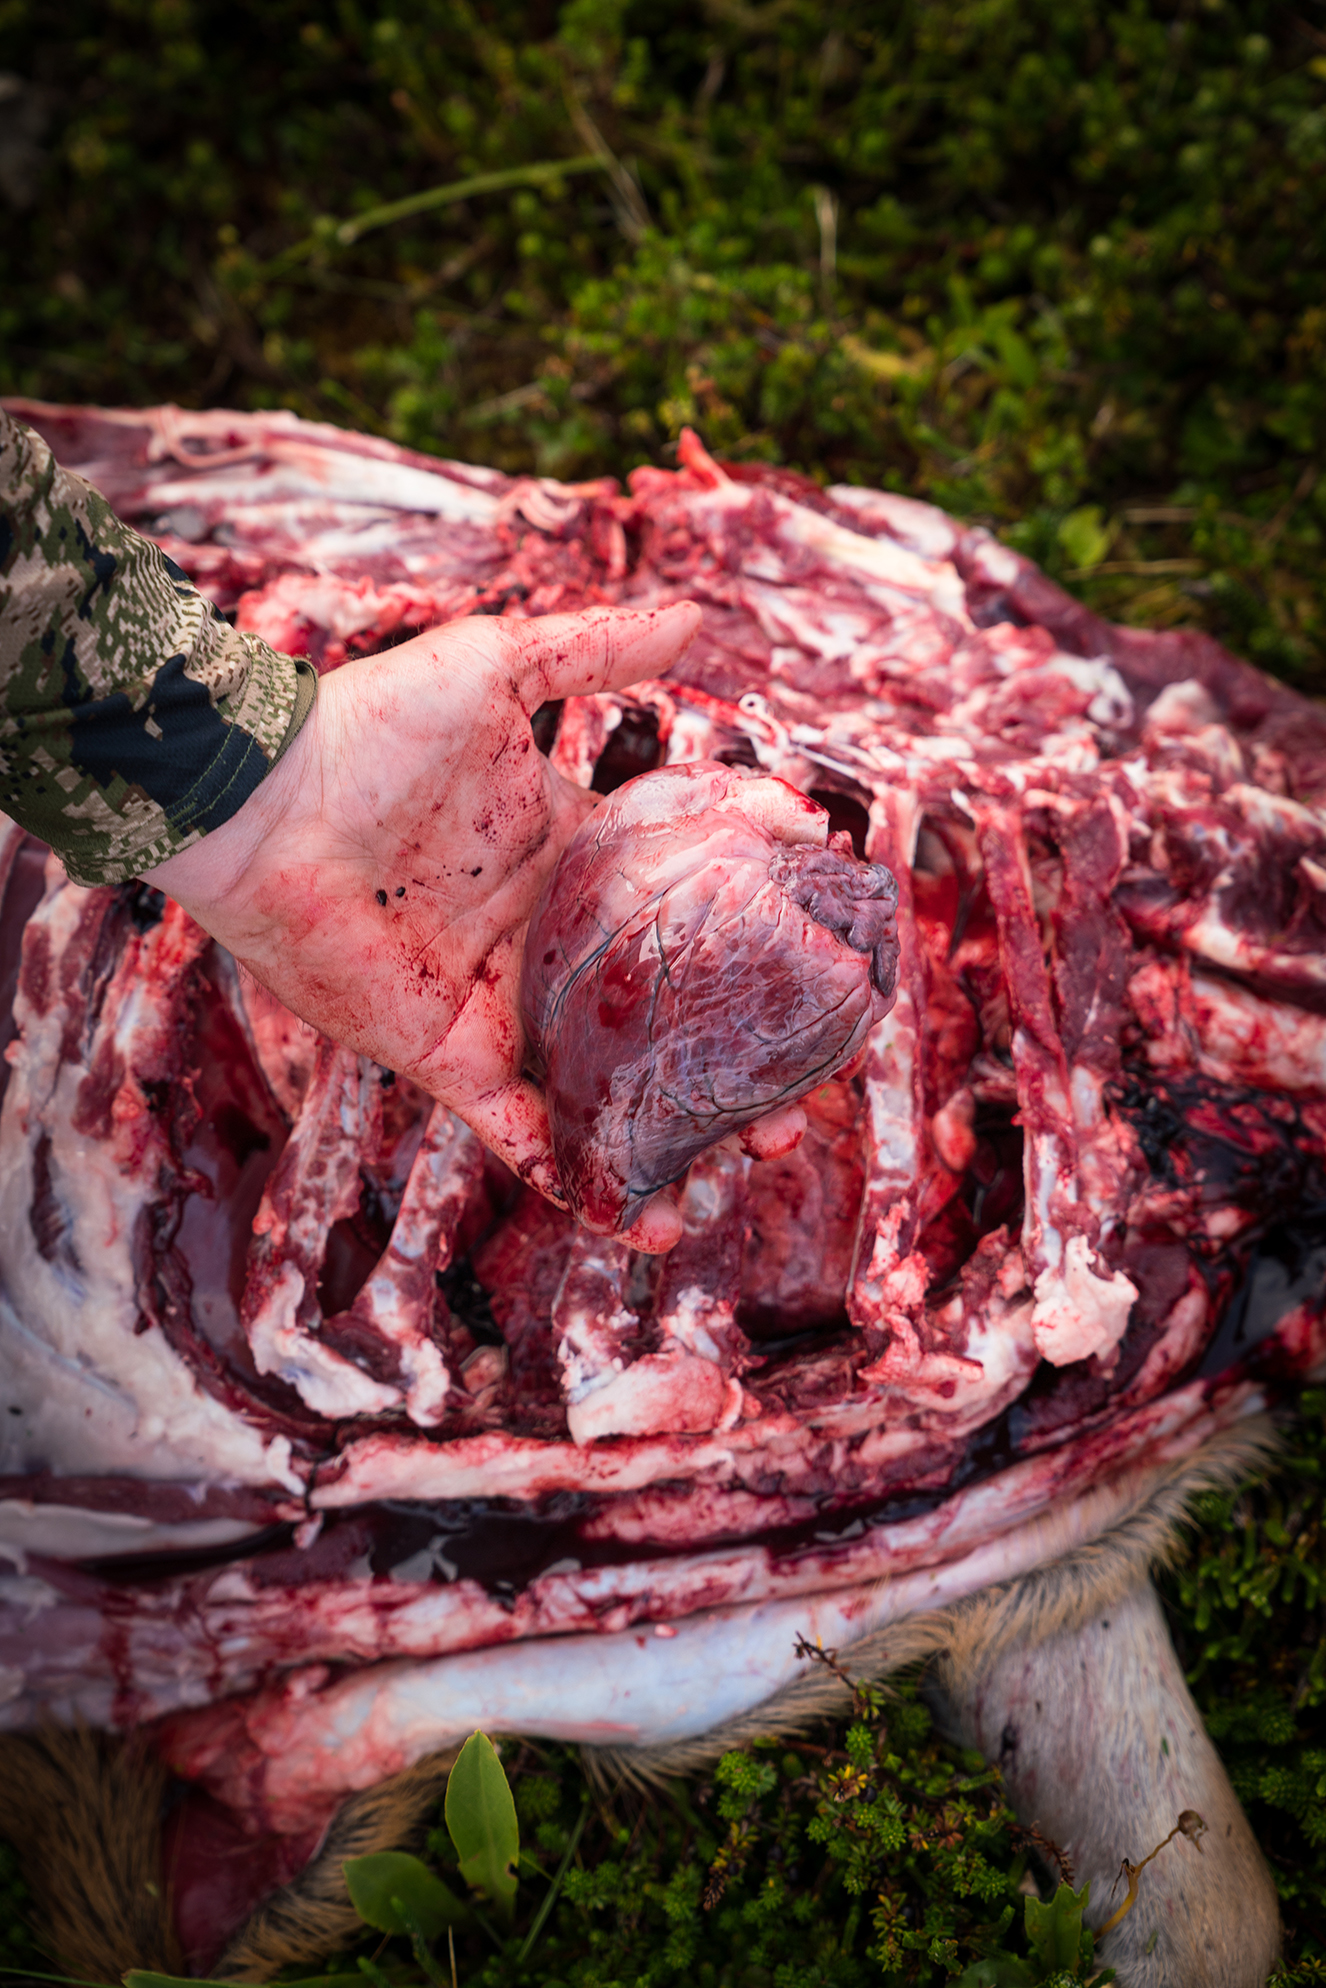
16. Use a sturdy knife or a bone saw and cut through the ribs where they meet at the breast plate and remove any offal you want to keep. Bag these cuts in clean Ziplocks.
17. At this point all the meat should be removed from the first side of the animal.
18. Carefully flip the animal and repeat the same process on the second side.
19. The last step is to remove the two tenderloins from inside the abdominal cavity. Use your hands to push the guts out of the way and gently work your fingers around both sides of the tenderloin. They should come free with one or two small.
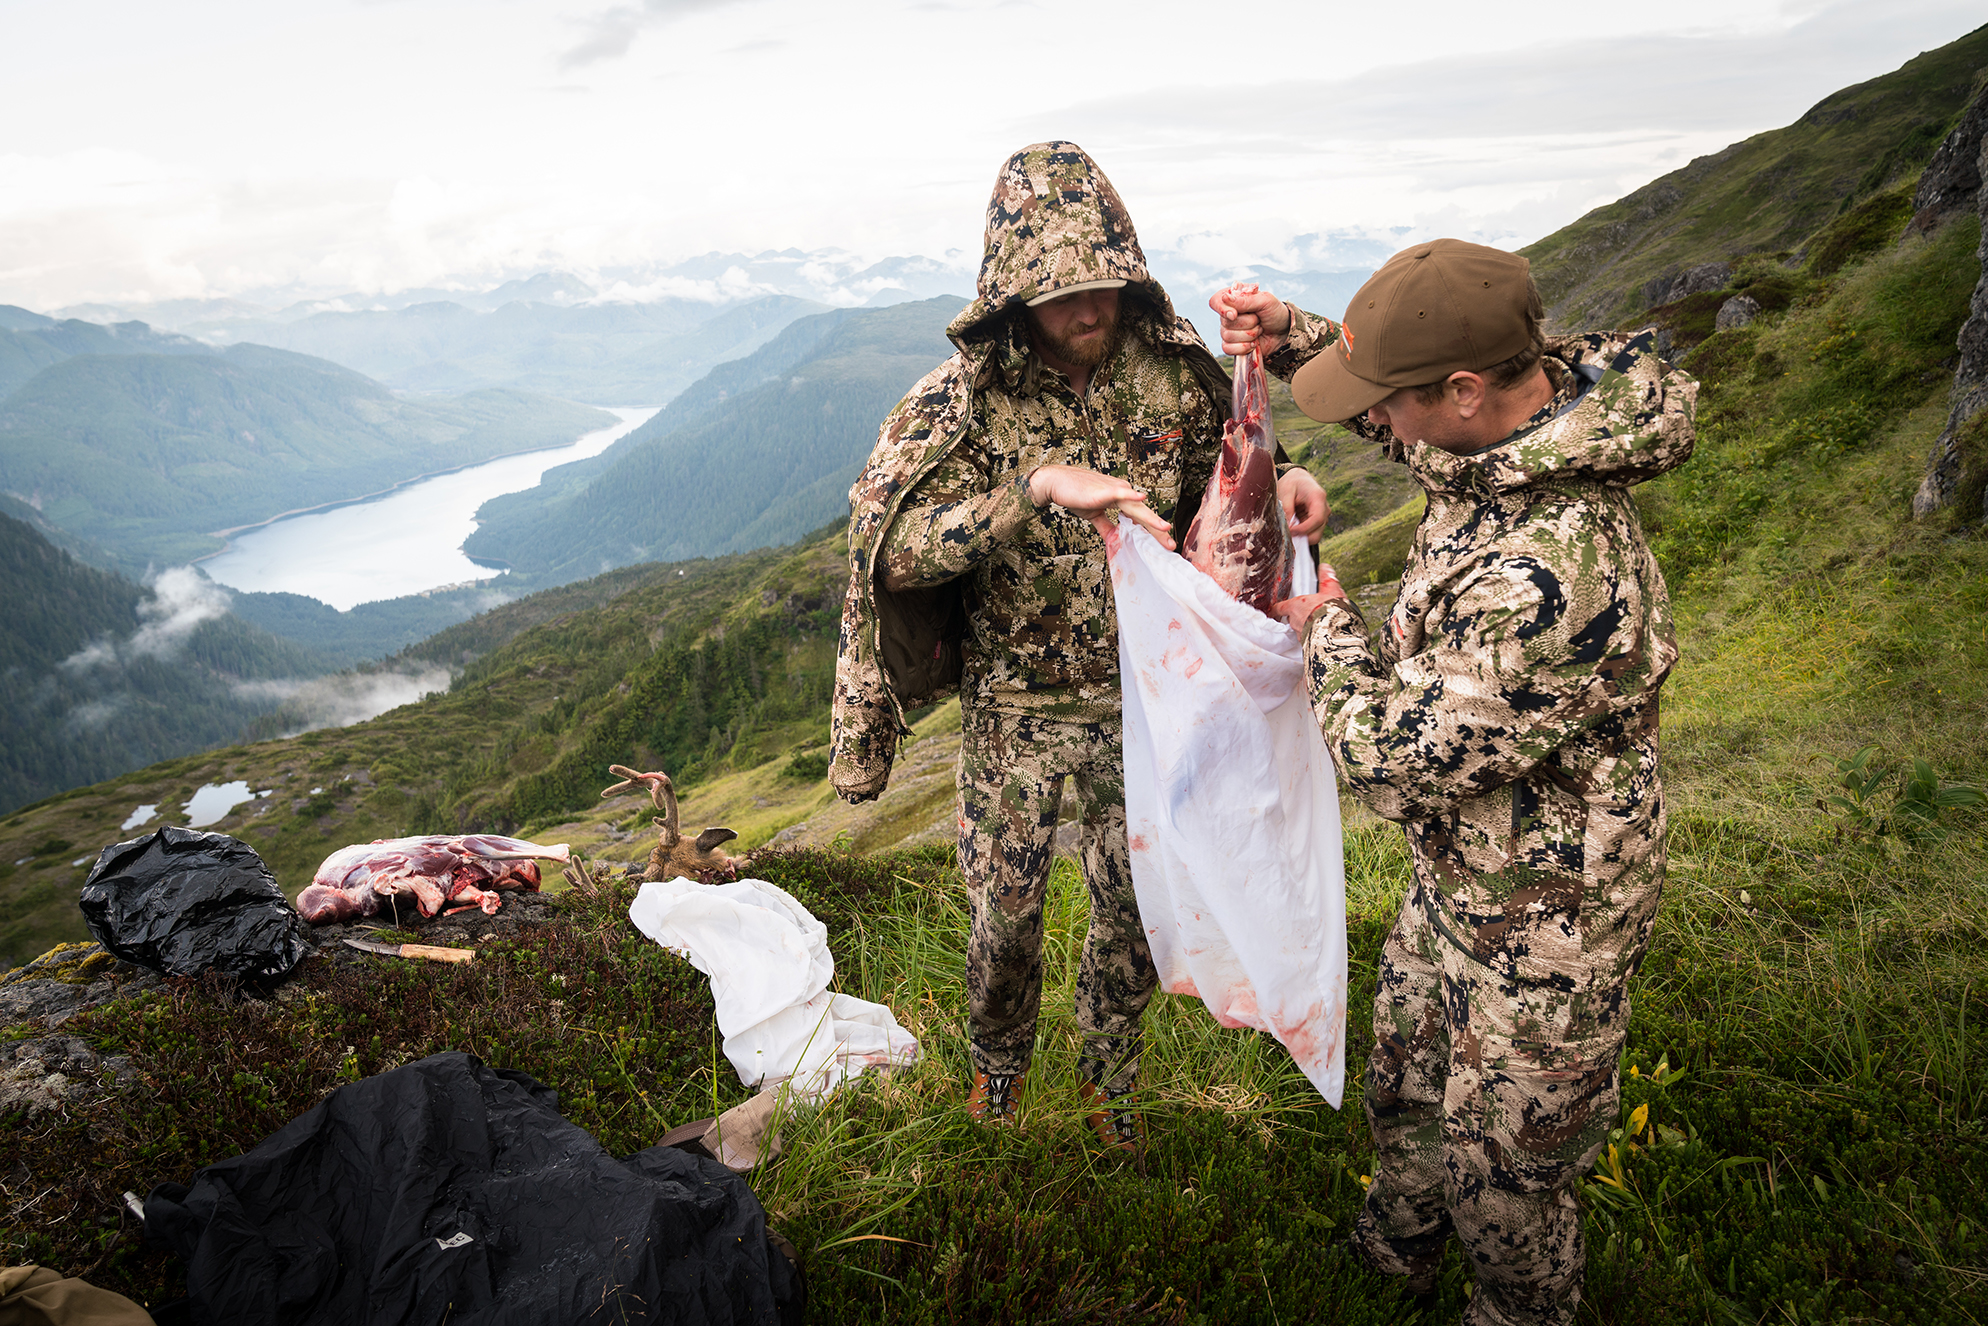
The Sitka Blacktail buck used in this tutorial was shot on the Haida Gwaii archipelago off the coast of Northern B.C. Due to the smaller size of Blacktails, we left the bones in the leg and packed off the mountain to be used for making stock. If weight is an issue, debone the legs before packing the meat out to save some weight.
Congratulations, you’re a field dressing master!

